Setting up CommandoVM in Parallels
I got this idea randomly since most of my Commando VMs are pretty fast but my Windows 10 running on Parallels is very slow. Now I already know it’s because I’m running Hyper-V and WSL, which is already running on a virtual platform. Now with the added overhead of using Coherence mode, my poor i9 gets very tired and toasty. And I don’t want to install all the tools manually.
I’ll be going over recommended specs for the VM but yours may vary, Parallels does most of the work for you but I’ll provide a little guidance for something you might want to change.
Step 1: Decide on VMware Fusion or Parallels
I’ll be real, Parallels is cool and offers better performance but VMware has a more advanced ecosystem and compatibility. When people ask me which software they should use, I usually tell them whichever your university offers for free.
If you’re into ‘alternative’ software obtaining methods then figure out your virtual platform situation, or your college/uni offers them both then consider this (and this is just my experience using both of these platforms for around 5 years.) Parallels is the better software for running Windows applications on MacOS. Need Visual Studio or some CAD software? Run Parallels, you’ll get better performance and it integrates very well into the filesystem so you don’t need to worry about dragging and dropping large files.
Now what if I want to run a lot of virtual machines? Linux and Windows together? Windows Server and a workstation? Multiple Linux machines? Run VMware Fusion. IMHO VMWare Fusion runs Windows the OS better than Parallels and it’s a lot easier to manage multiple OSes in VMware and their network. The only weird hiccup is that VMware Fusion’s network configurator doesn’t let you define the DHCP starting and ending addresses on a specific network, but manual IP configuration in the guest solves that.
Step 2: Decide on Parallels (bad ending)
Now you might be thinking “Sounds like VMware might be the better approach so I can make a lab to test stuff?” It probably is, but letting an insecure OS connect directly to any external Wi-Fi and access to my filesystem sounds way more fun.
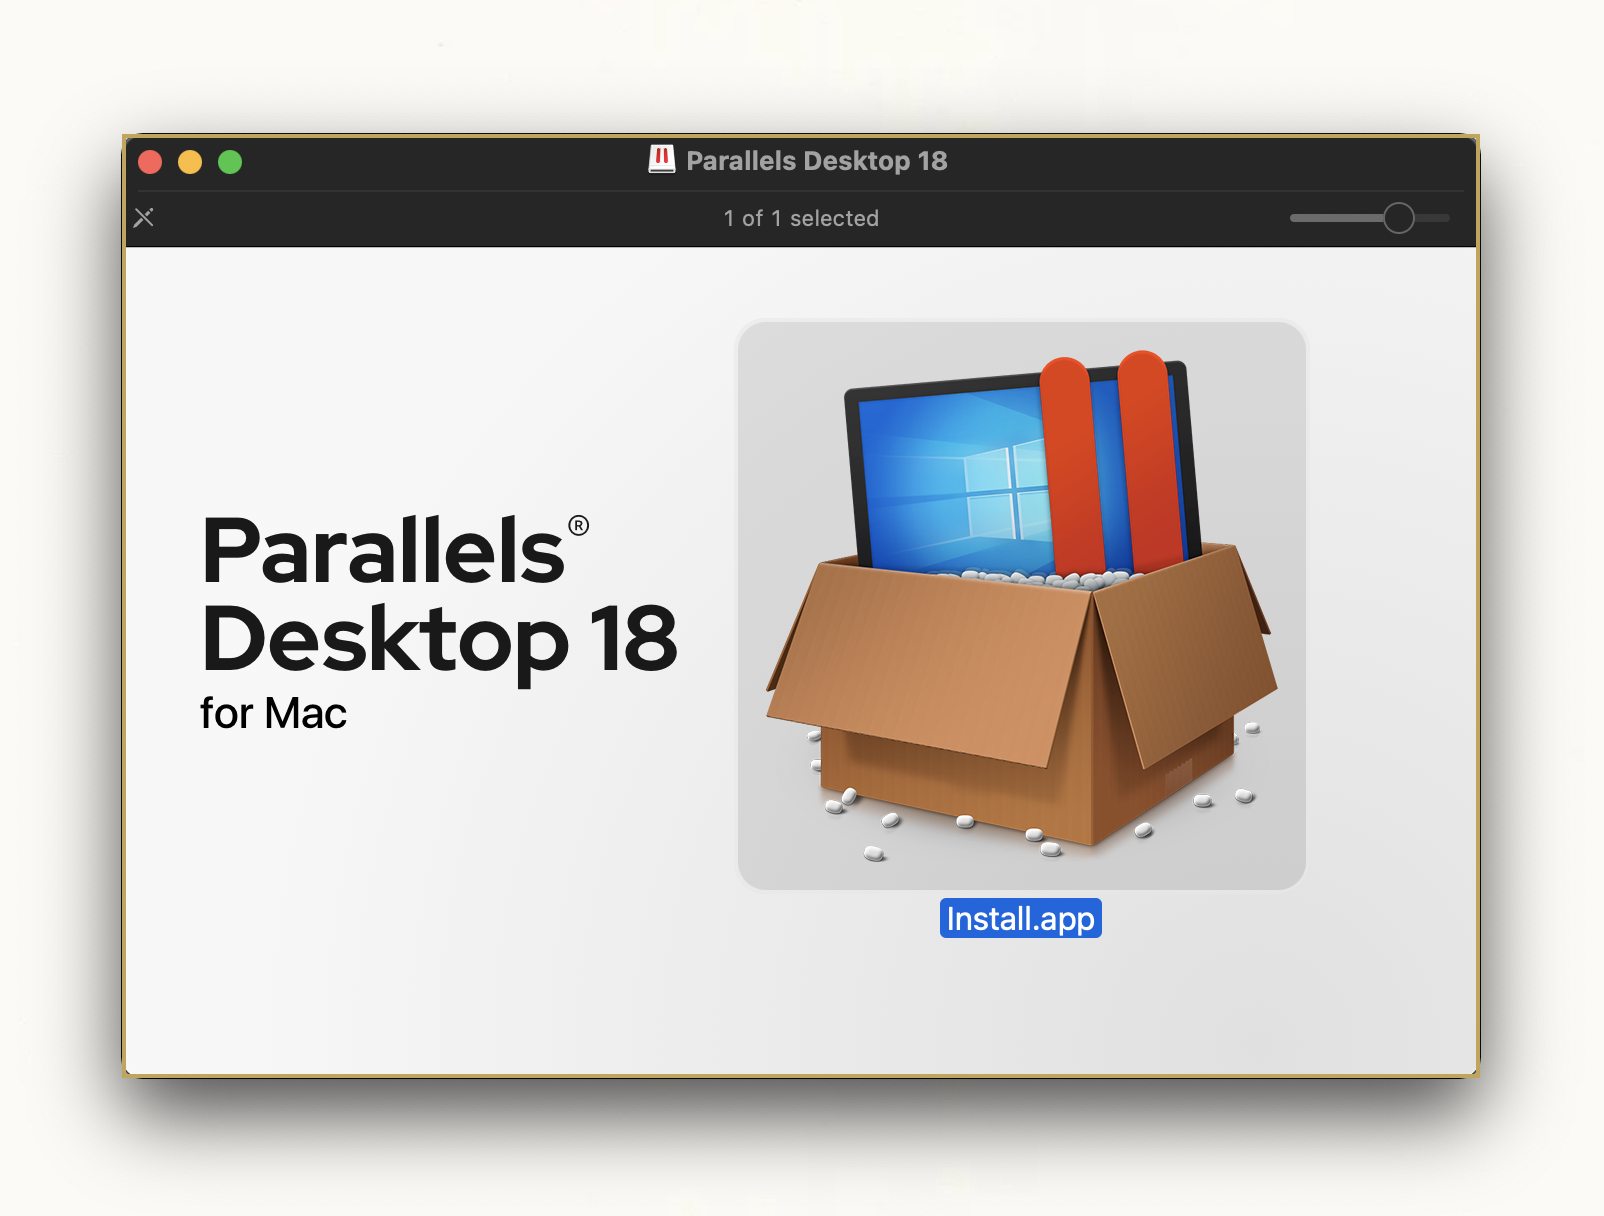
Step 3: Download and Install Parallels
Link: https://www.parallels.com/products/desktop/
More Specific Link: https://download.parallels.com/desktop/v18/18.1.0-53311/ParallelsDesktop-18.1.0-53311.dmg
I used to use Parallels Desktop 16.1.2 but I’ve removed it with AppCleaner and starting over.
I’ll be using Parallels Desktop 18.1.0-53311 for this.
You will probably get an update box if you use the direct link, I chose to ignore this but if you have a new license I’d recommend updating it.

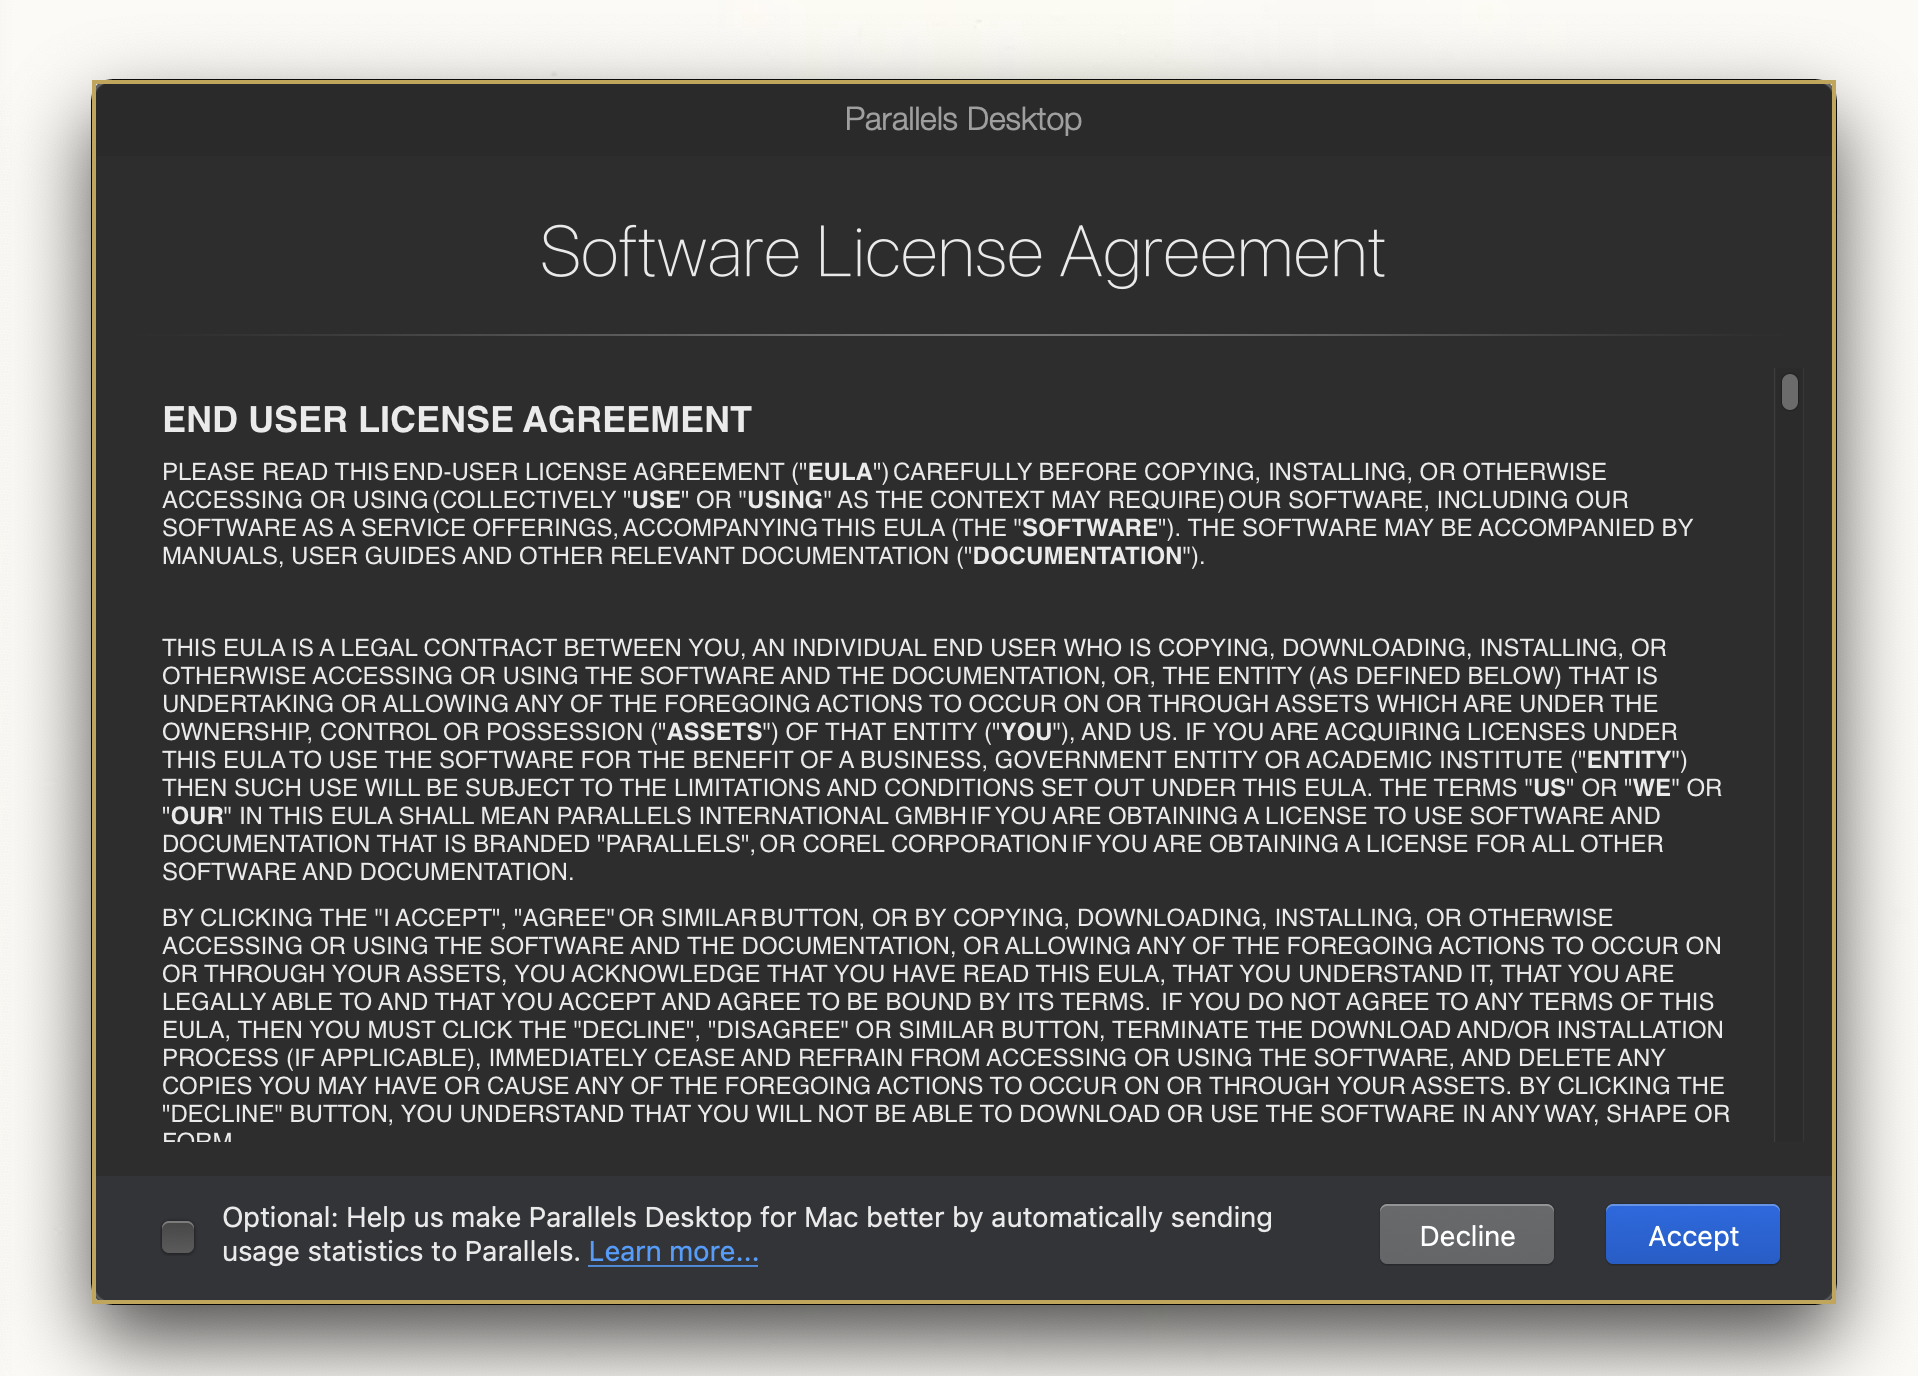
Standard license agreement, just de-select the Optional box at the bottom and click Accept.
You’ll need to enter your administrator credentials since it’s installing some low-level stuff outside of your standard user’s access.

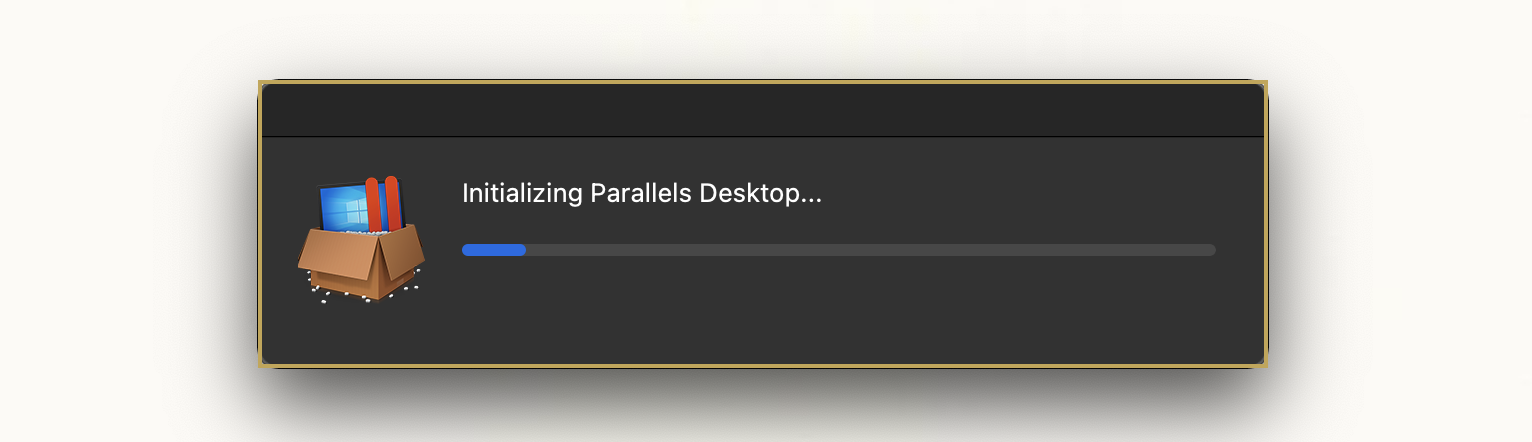
Then you should get this quick prompt that it’s initializing.
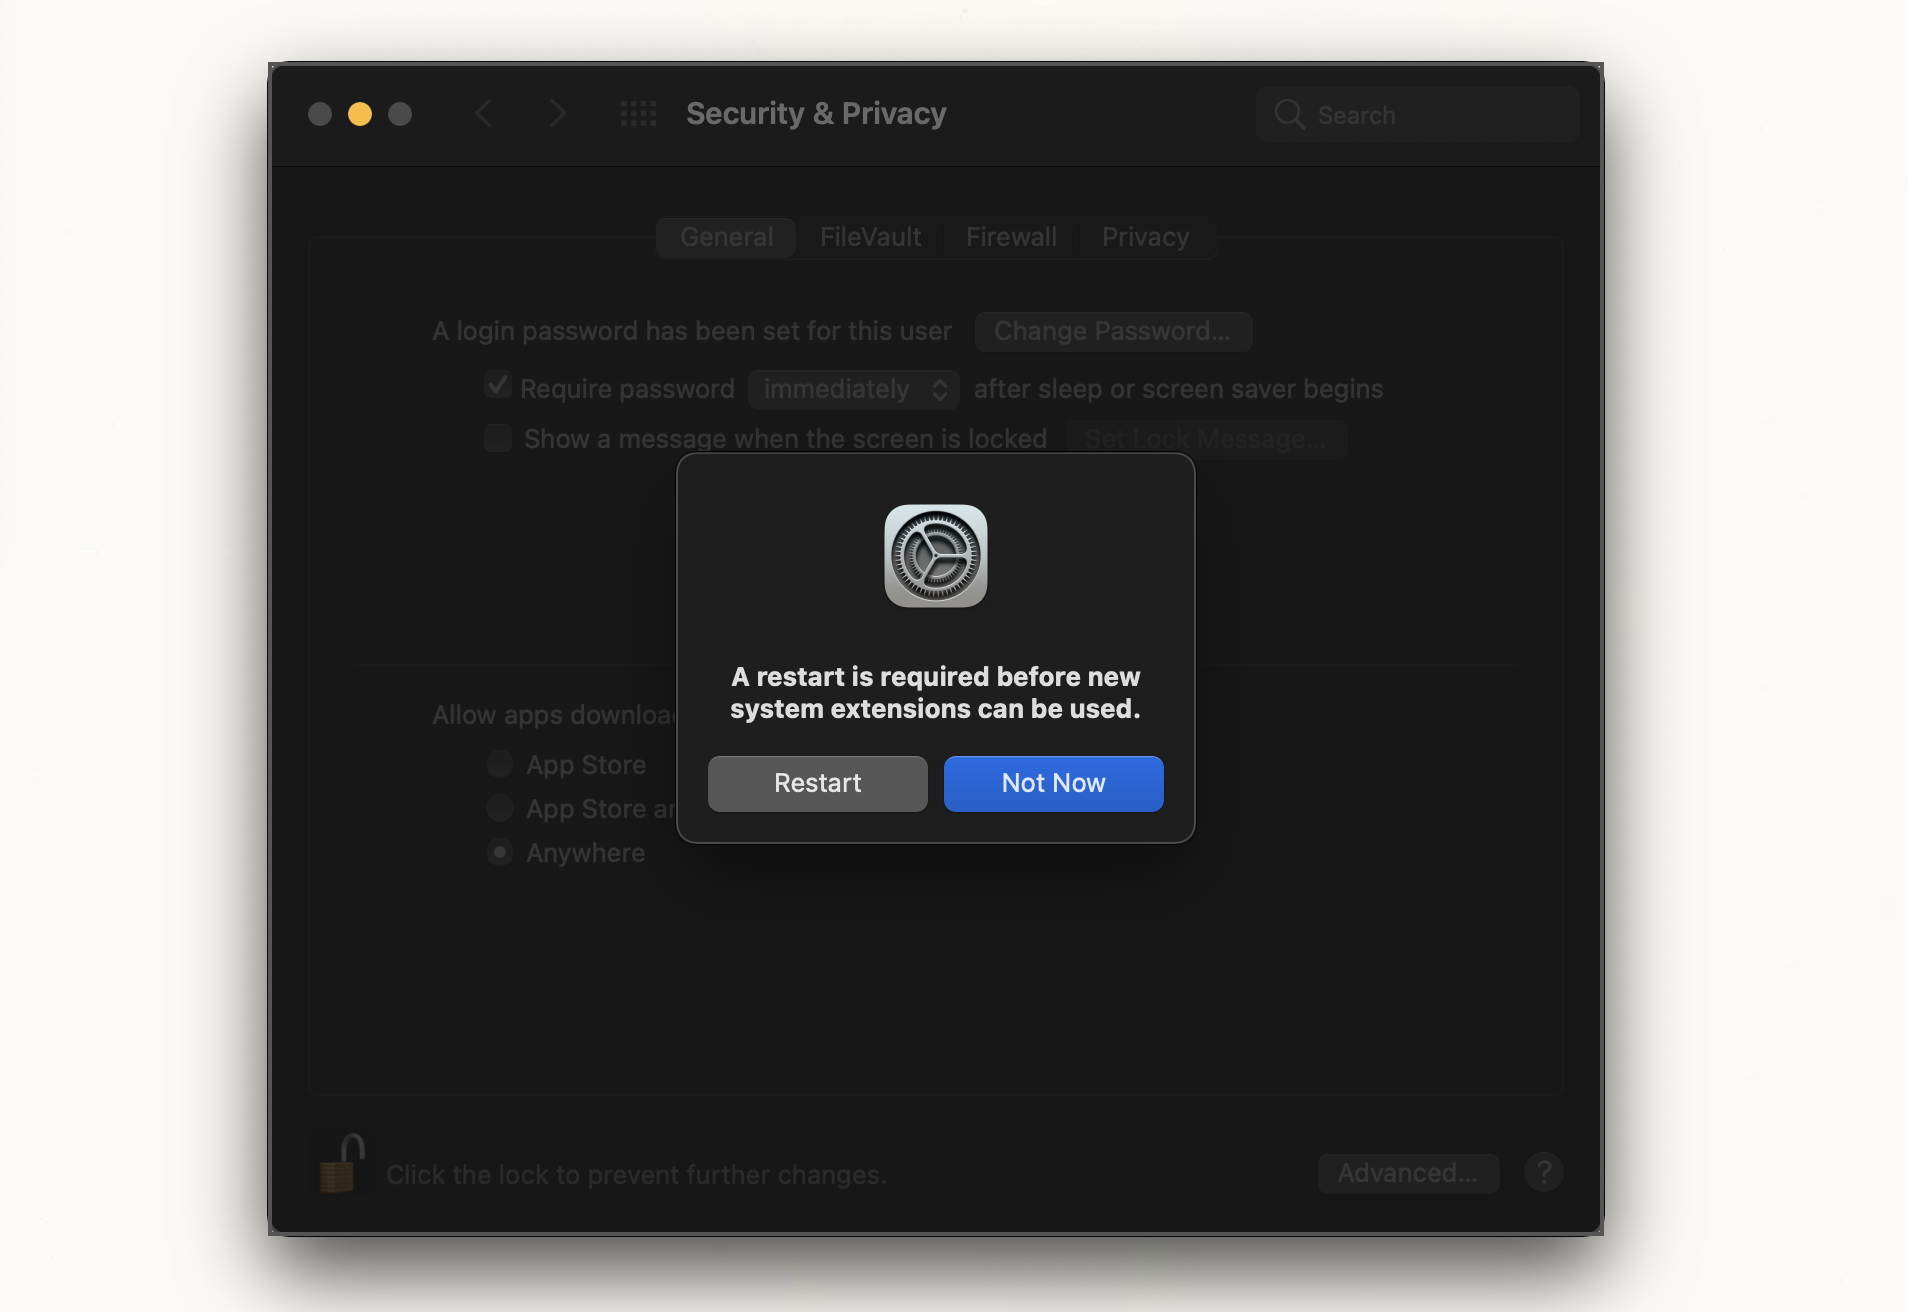
Once that’s done, it’ll prompt you with some system preferences stuff. Parallels integrates pretty tightly with the MacOS Host so it’ll need access to a lot. This usually includes Microphone (since that’s now required for all audio), Accessibility (required for reading keyboard input and UI elements), and Full Disk Access (self-explanatory).
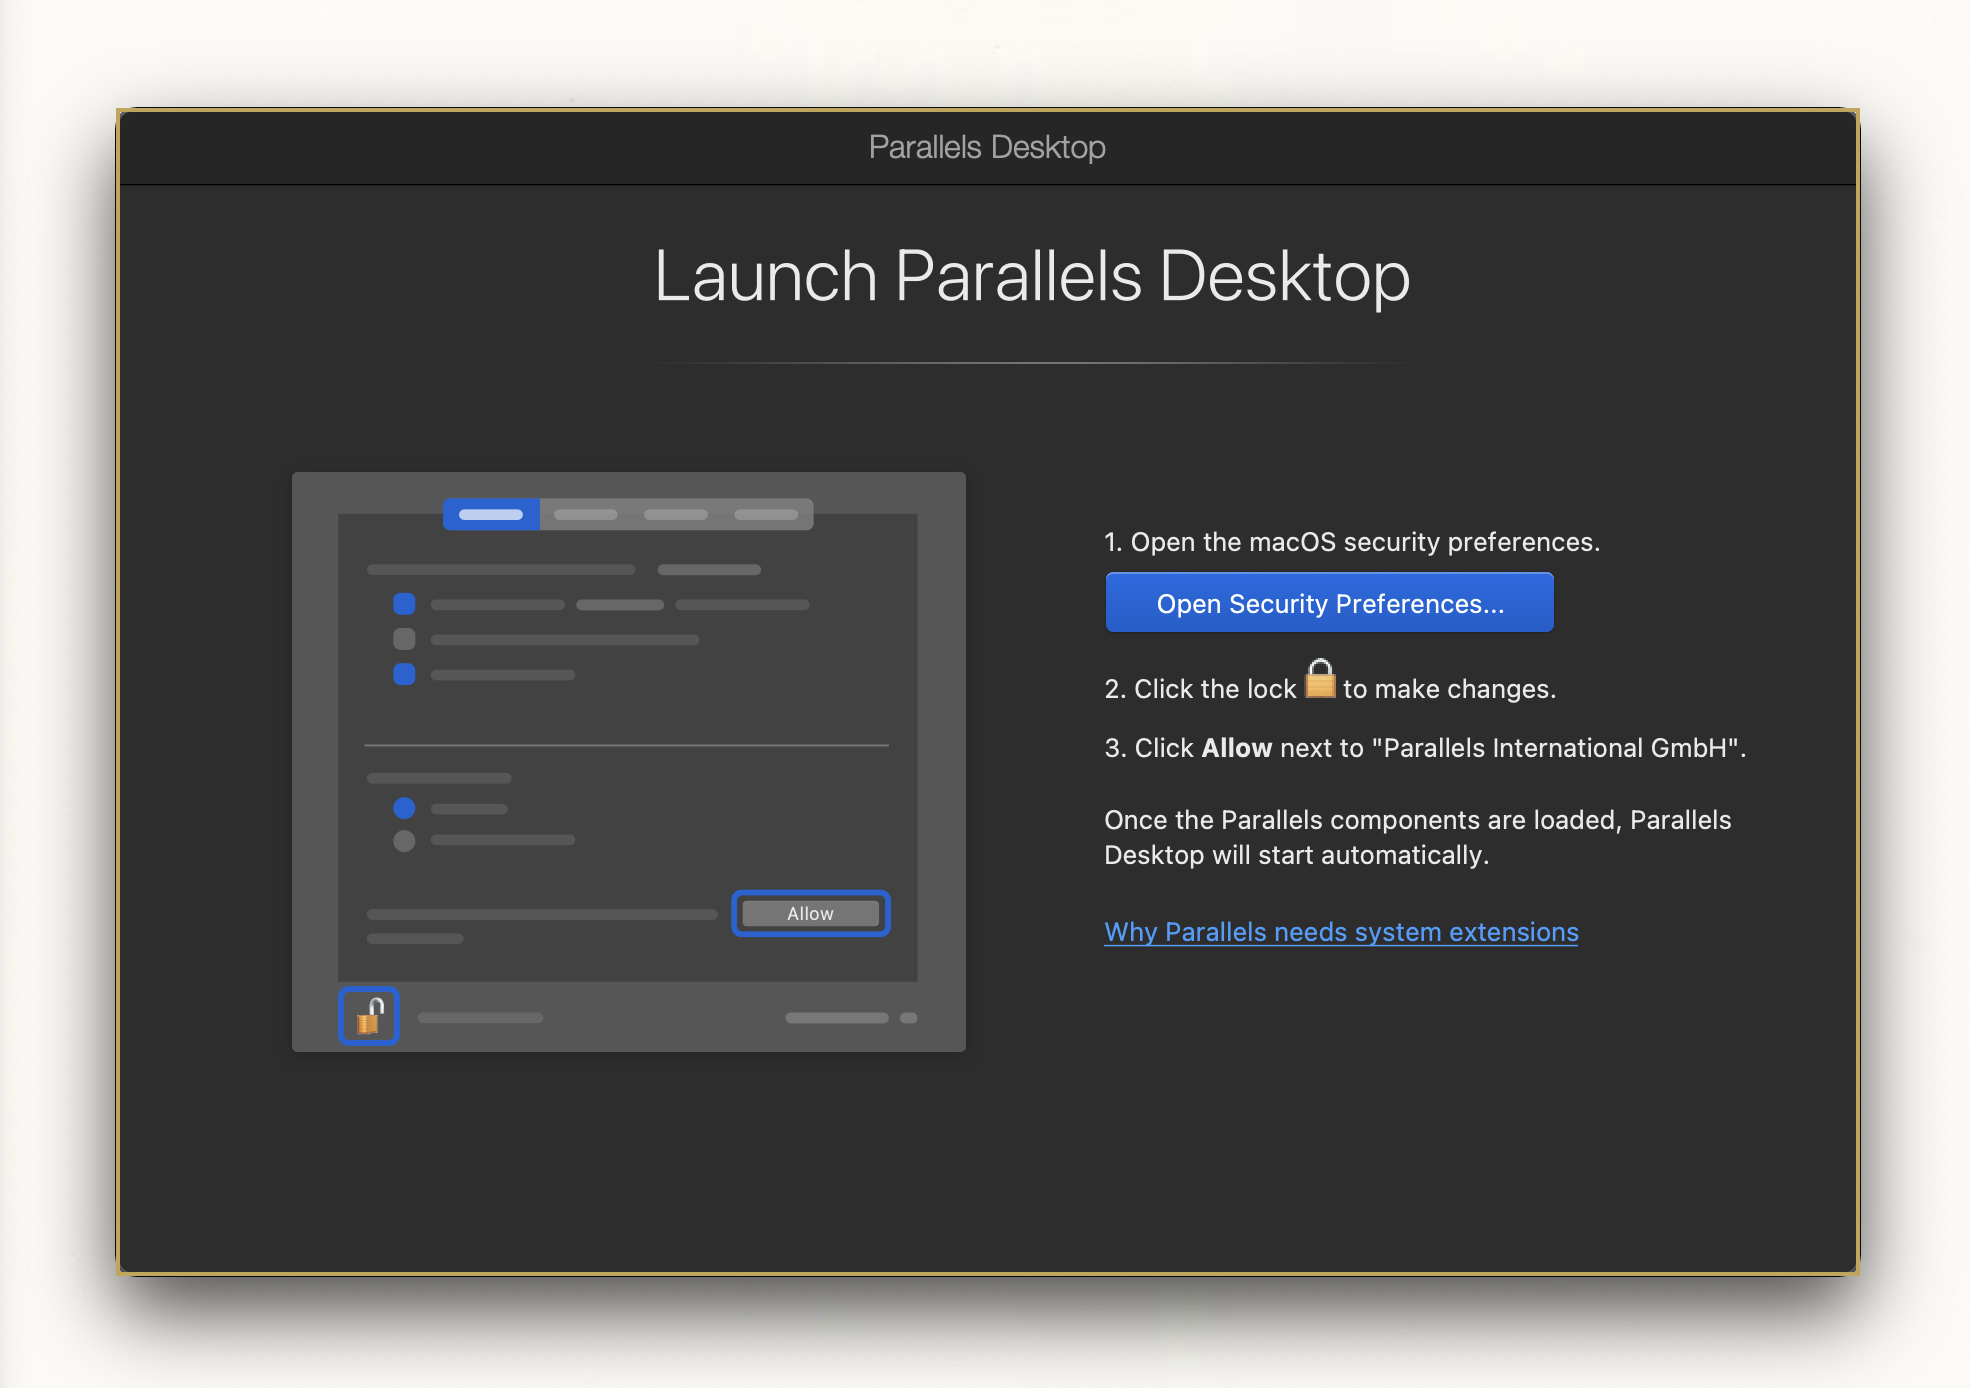
But for now you can just click Allow on the button (you’ll need to unlock it if it’s greyed out.)

Yeah I know, it’s a hypervisor just let it do that it wants. I wouldn’t pair this restart with other reasons like updates just because I’d rather not troubleshoot that if something goes wrong.
Well I’ll be back in a sec.
That was fast, and my Mac is awoken to a living nightmare.

Unironically, don’t install Windows 11 for Commando VM. It’s not officially supported and the performance hit of Windows 11 over 10 isn’t worth the features. Unless you really really want TPM and Secure Boot then I won’t stop you.
Now you should be in a fully-functional Parallels install.

Moving onto the actual reason you’re here.
Step 4: Obtaining Windows 10
Direct Link: https://software.download.prss.microsoft.com/dbazure/Win10_22H2_English_x64.iso
This link might not work in the future so I’ll say that I’m downloading this in April 2023. I recommend using Windows 21H1 if you have the ISO on hand but I’m going to easy route and downloading the latest one.
Note: W10 22H2 is NOT officially supported by CommandoVM, but I don’t care it’s all the same thing. It also looks like this update is pretty minimal and mainly for extended support, which has 0 effect on the actual OS.
Step 5: Setting up Windows in Parallels
Once you’ve downloaded the ISO, open up Parallels and select the “Install Windows or…” option.
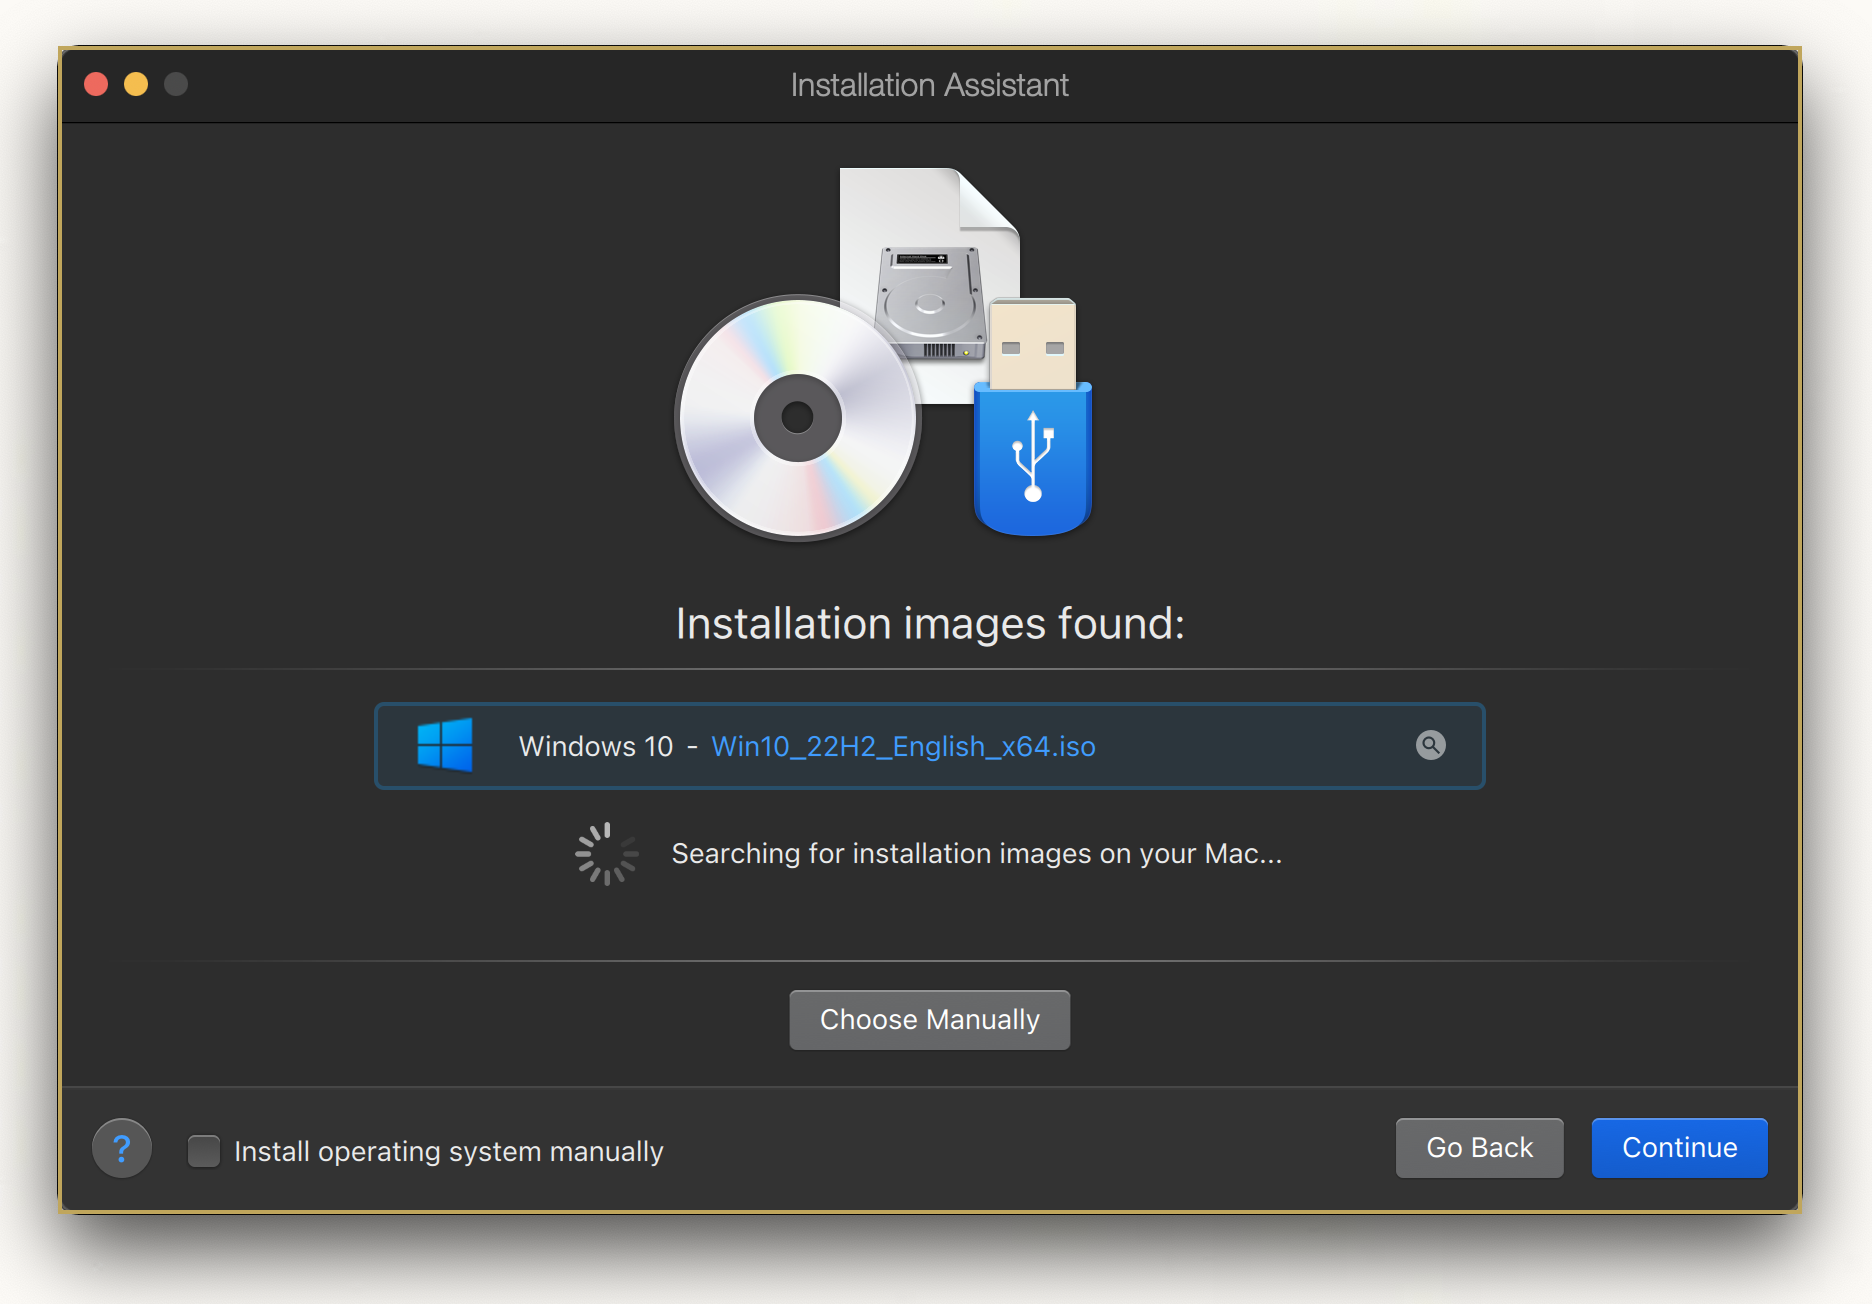
Go ahead and select the ISO file that you’ve now downloaded. The app should tell you that it detects Windows 10.
Parallels then prompts me to activate Windows, if you have a genuine Windows license, don’t enter it here. You shouldn’t pay for Windows.

Click Continue and select Windows 10 Pro. THIS STEP IS IMPORTANT, all of these different versions are very different and there is no convenient way to switch between them.

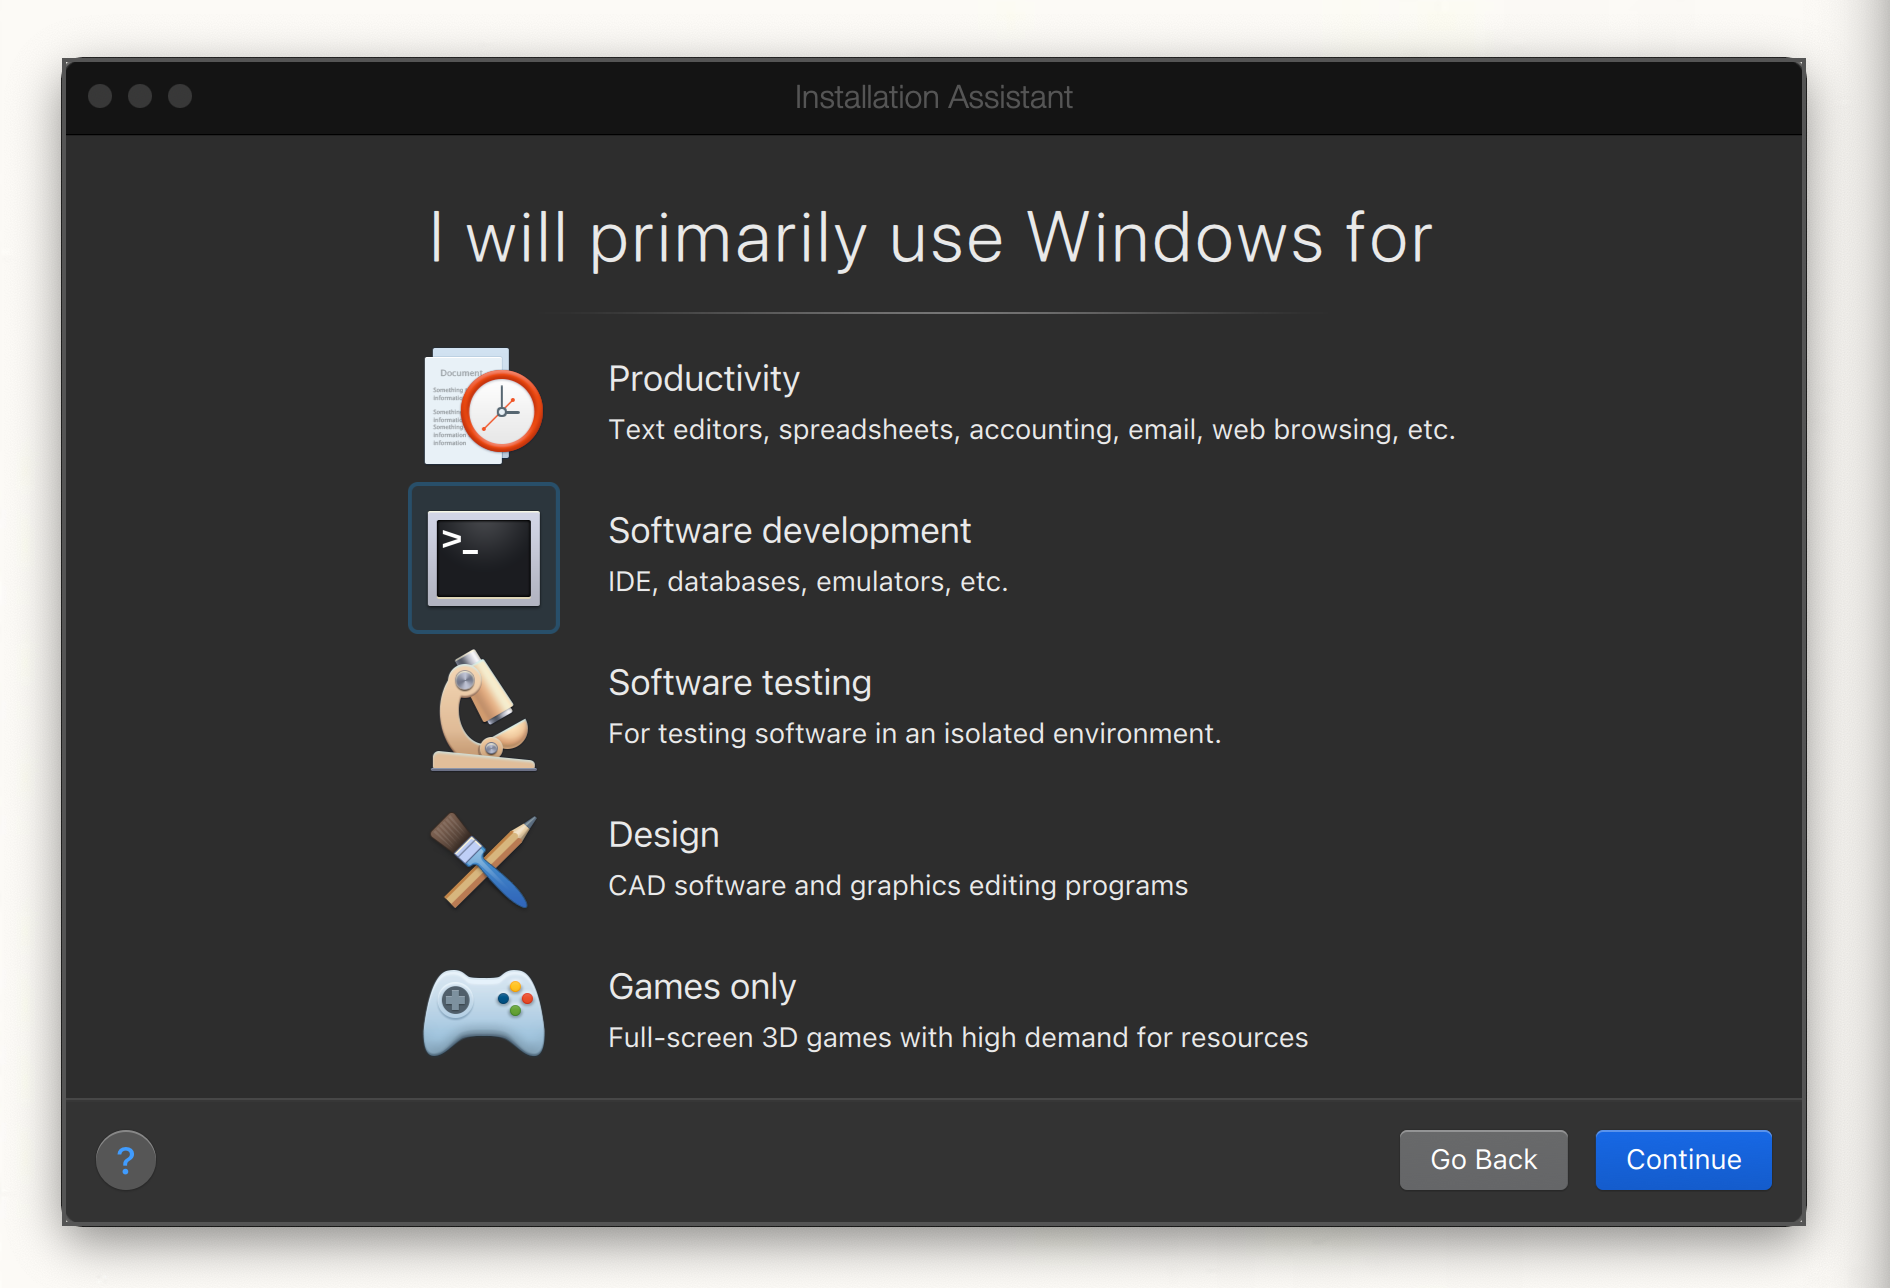
Now the “I will primarily use Windows for” step. So I’m pretty sure Software Testing is the best option for CommandoVM. But I like the Software Development Icon so I’m going to go with that. Also I will mostly be using it in Coherence Mode so I don’t really want the isolated default settings.
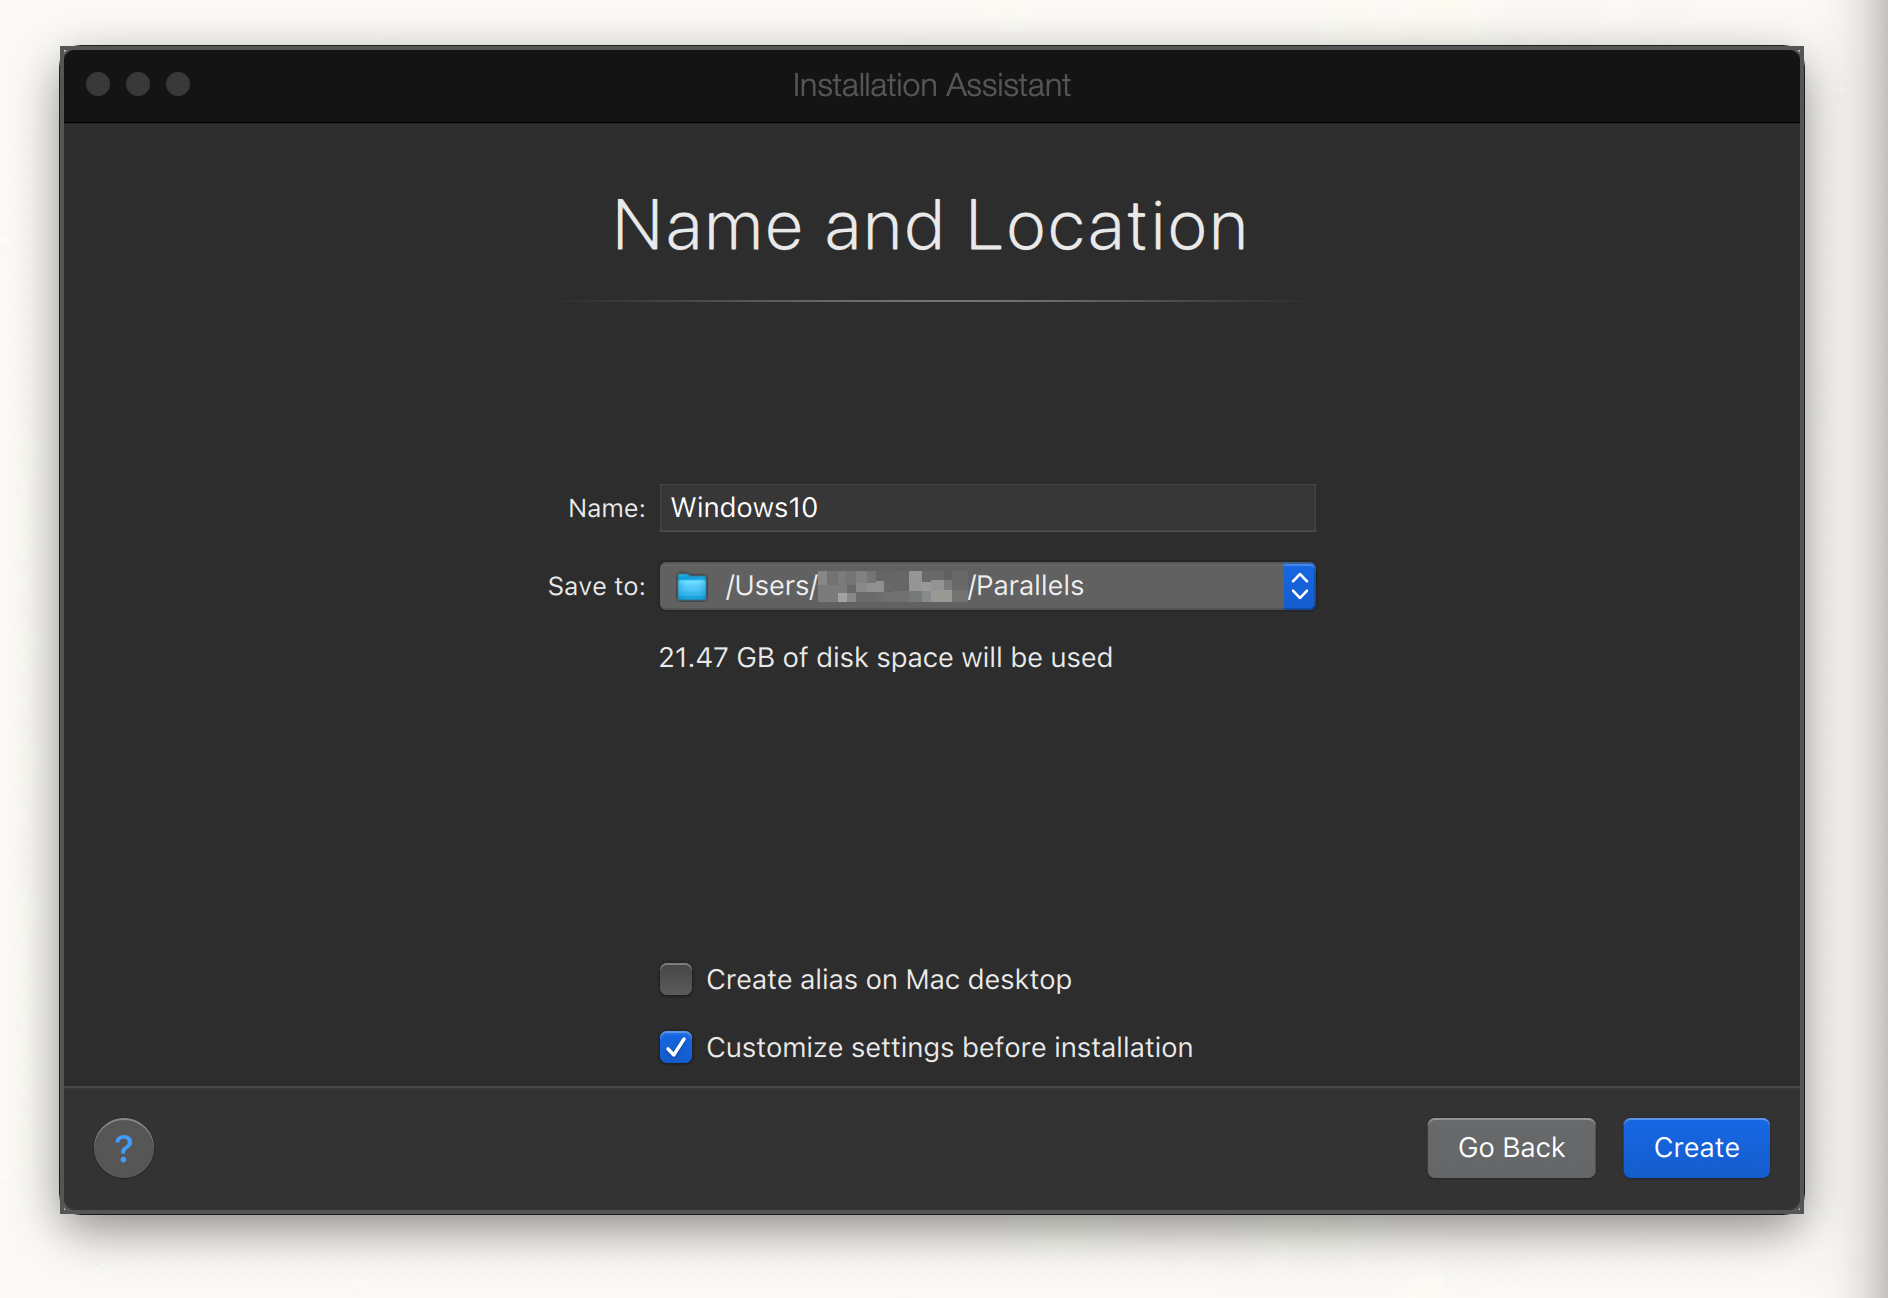
Name your VM anything you want, and I’d recommend leaving the folder in /Users/username/Parallels just for simplicity. I personally unchecked the “Create Alias on Mac Desktop” since I never use it. But make sure to check Customize settings before installation
Okay now pay attention. The thing about CommandoVM is that it requires disabling literally every security measure Windows has in place to work. And because I have a distaste for computers, I want to minimize the risk of this going wrong so I minimize my time spent on this.
A lot of these settings are pretty fine, I won’t touch much of the performance stuff and leave it on the defaults. I will touch a lot of the settings in place used to integrate the MacOS filesystem with Windows, this is so that Commando doesn’t throw any weird errors or touch my main OS. Also, I will be installing the smallest (lite) CommandoVM package which contains no virtualization (this will be important in the CPU section).
List of Settings I changed:
Options TabStartup and Shutdown- > Start up and Shut down manuallyOptimization-> No limitSharing-> Uncheck everything under Share Mac, Uncheck everything under Share Windows, even Advanced.Applications-> Only ‘Share Windows applications with Mac’Full Screen-> Didn’t touchPicture in Picture-> Unchecked everything, Opacity: OpaqueWeb & Email-> Didn’t touchMaintainence-> Leave uncheckedTravel Mode-> Never on everythingMore Options-> Time: Do not sync, Checked: Share Mac clipboard and Show developer tools, Unchecked: Preserve text formatting and Update Parallels Tools automatically
HardwareCPU & Memory-> Manual, Processors: 4 (1/2 your total cores), Memory: AutoCPU & Memory (Advanced)-> If you are going to use WSL/Docker in CommandoVM, then use the Parallels hypervisor w/Nested Virt. I am not, so I will select the Apple hypervisor w/o nested virt.
Graphics-> ScaledGraphics (Advanced)-> Checked Always use high-performance graphics
Mouse & Keyboard-> Mouse: Don’t optimize for games, Keyboard: Optimize for gamesMouse (Advanced)-> Uncheck mouse pointer sticks at window edges
Shared Printers-> Uncheck everythingNetwork-> Shared NetworkSounds & Camera-> Sound Output: Default, Microphone: Disable, Checked Sync volume with Mac, Uncheck Share Mac camera with WindowsSound & Camera (Advanced)-> HD Audio
USB & Bluetooth-> Checked: Input Devices, Audio, NetworkingUSB Connection Preferences...-> Make sure that Connect it to my Mac is selected.USB & Bluetooth (Advanced)-> Checked Enable USB 3.1
Hard Disk-> Left default, it was a 256GB NVMe disk with TRIM enabled.- Didn’t touch and CDs or Boot Order.
Security-> Leave everything uncheckedBackup-> Leave everything unchecked
Okay finally. If I typoed anything or missed anything, let me know.
Then exit out of the configuration window and click Continue on the Installation Assistant window.

Parallels asked me for access to my camera, deny it.
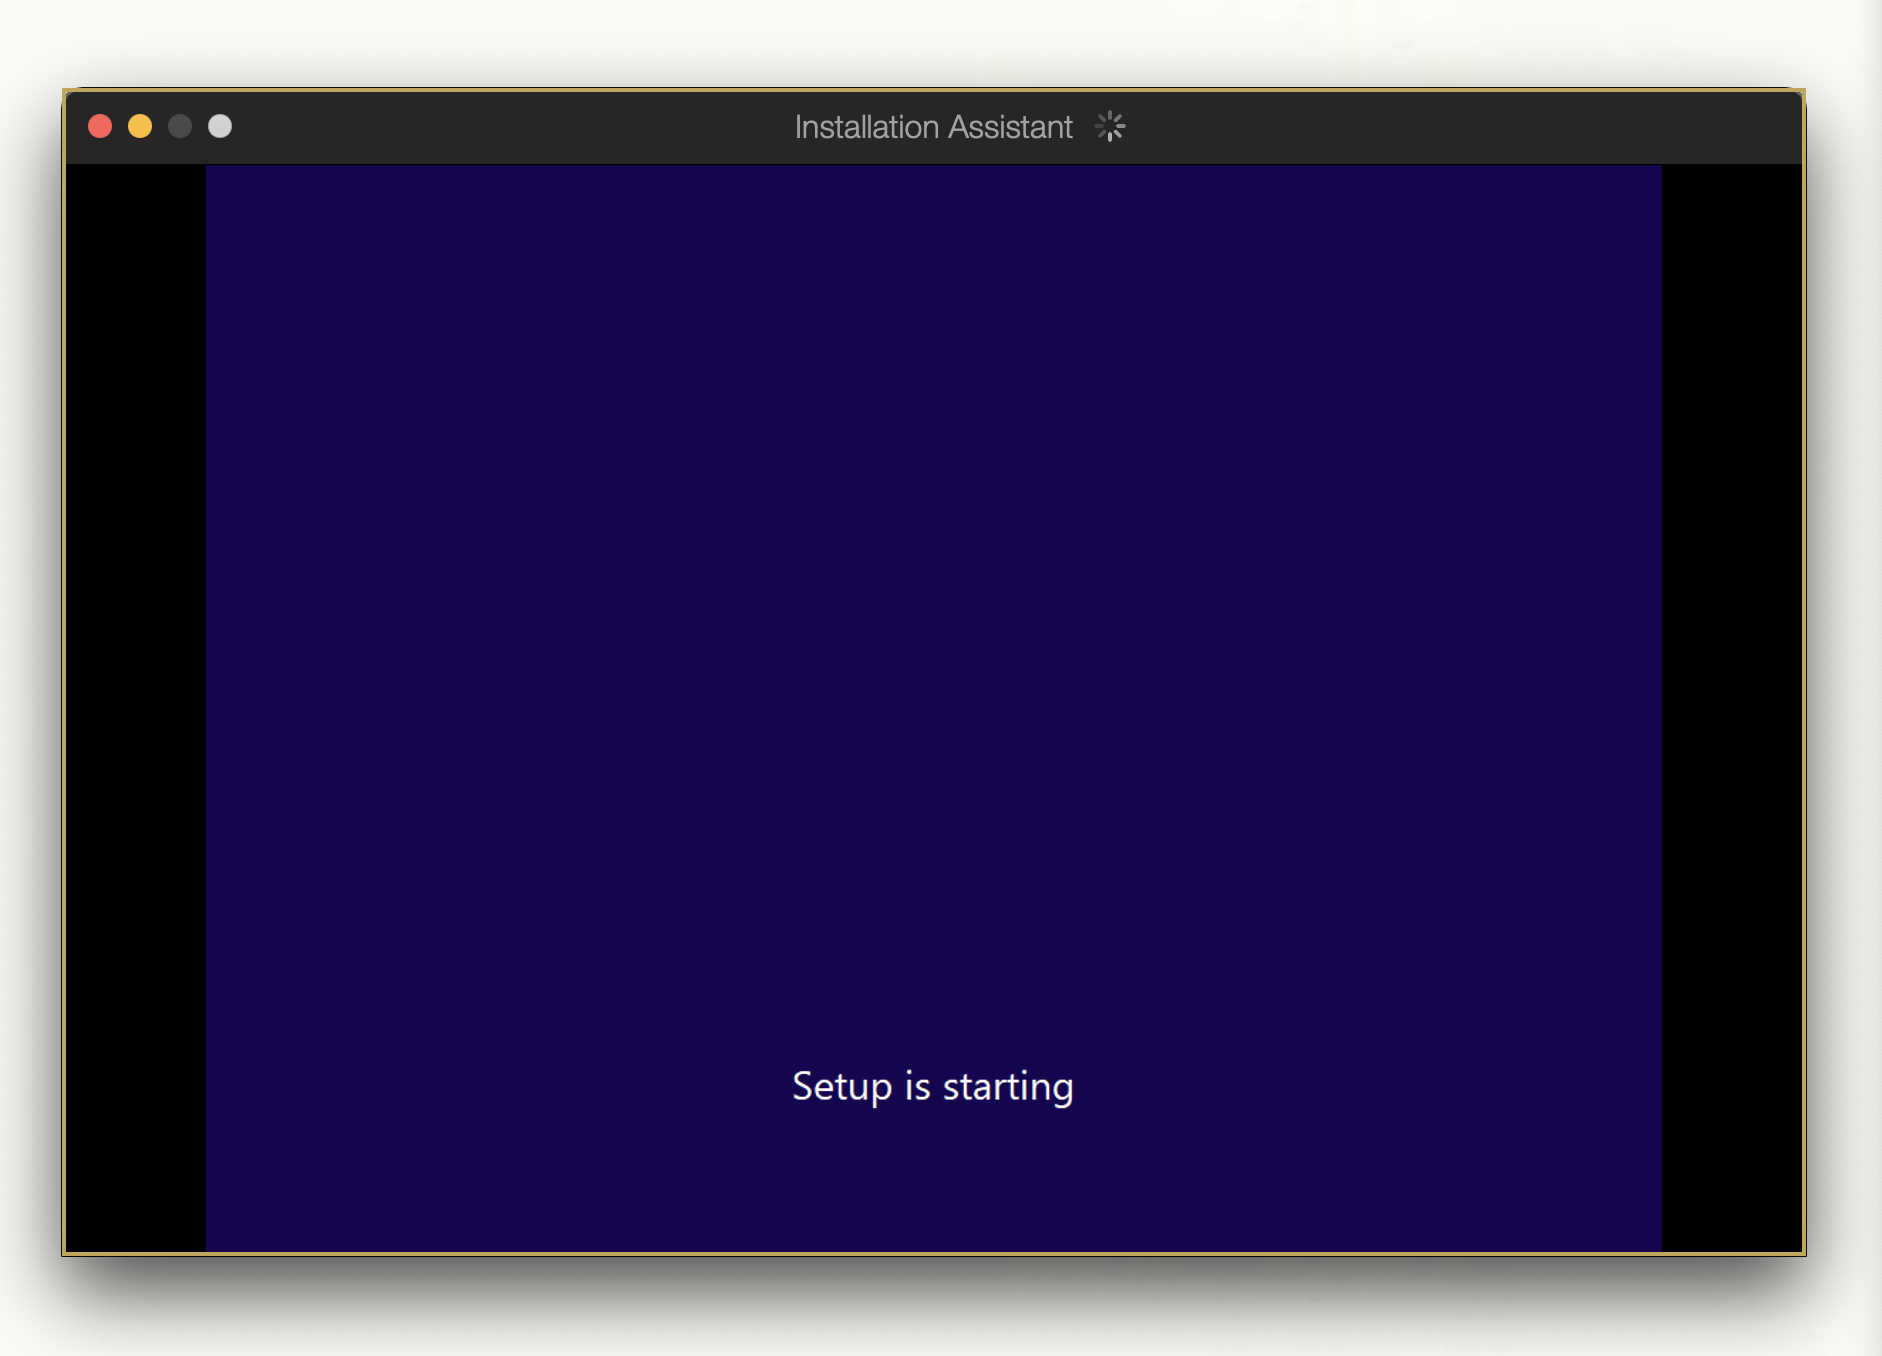
The installation assistant should start installing Windows automatically, it will automatically do pretty much everything.
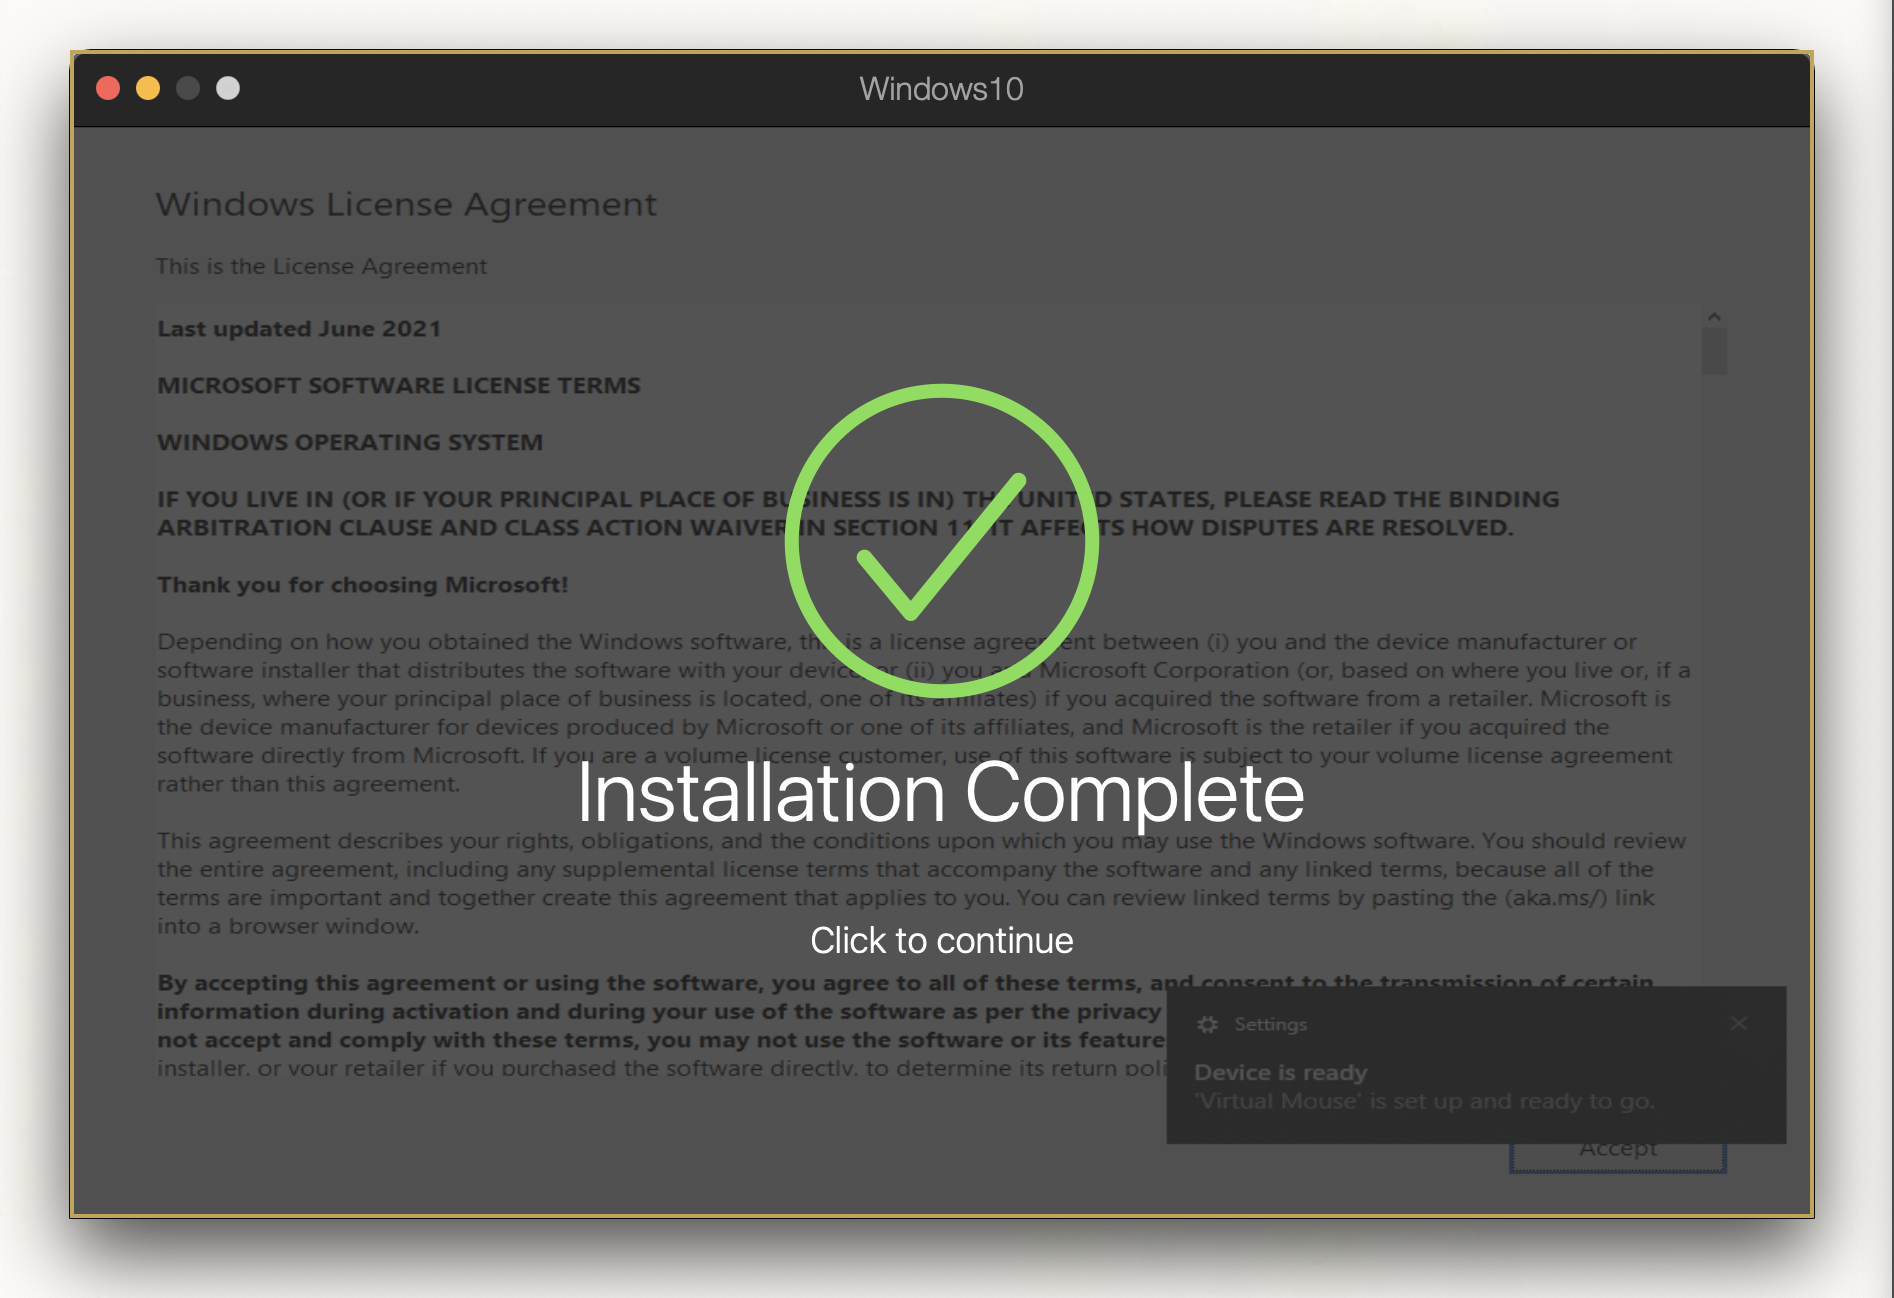
I went to get coffee and it’s done now.
Cool. Onto the actual step that you care about.
Step 6: Script Kiddie moment (real)
Reference: https://github.com/mandiant/commando-vm
You can pretty much follow the steps listed on the GitHub. I won’t go through all of them. I’m also going to setup some basic Windows stuff that I usually do.
- Stuff I’m changing but is too much effort to screenshot:
- Activating Windows.
- Firefox > Chromium-based browsers
- Install Windows Terminal (the MS store might not work after setting up CommandoVM)
- Install Chocolatey
- Uninstalling all the useless apps that are preloaded with Windows (Disney+, Spotify, Solitaire Collection?, Netflix, Instagram, ClipChamp, Feedback Hub, Groove Music, Xbox, PC Health Check, etc.)
- Disabling background apps
- Disabling every security feature from Group Policy Editor and Windows Settings (refer to commando-vm github)
- Installing all the latest and greatest Windows updates, including optional updates.
There’s no fancy virtio type drivers for Parallels but it already has their pre-loaded drivers so that’s nice.
Okay time to actually setup commando-vm. The easist way to get the install.ps1 file from GitHub to your VM is to download the repo as a zip folder.

Now just extract that into any folder, I just use the downloads folder for simplicity. Then just follow the steps in the Github.
Also a little fun command if you need to enter a password but want to avoid plaintext in Powershell: $(Read-Host "Enter Password Here" -AsSecureString)

Now it just asks me to confirm a couple custom profile options (since I’m using the lite.json profile).

The script might think that Tamper protection is enabled, this is bugged for some reason but if it’s off in Windows Security then you’ll be fine. Most of the warning are self-explanatory but you SHOULD take a snapshot before continuing.
This is in the menu bar, Actions -> Take Snapshot
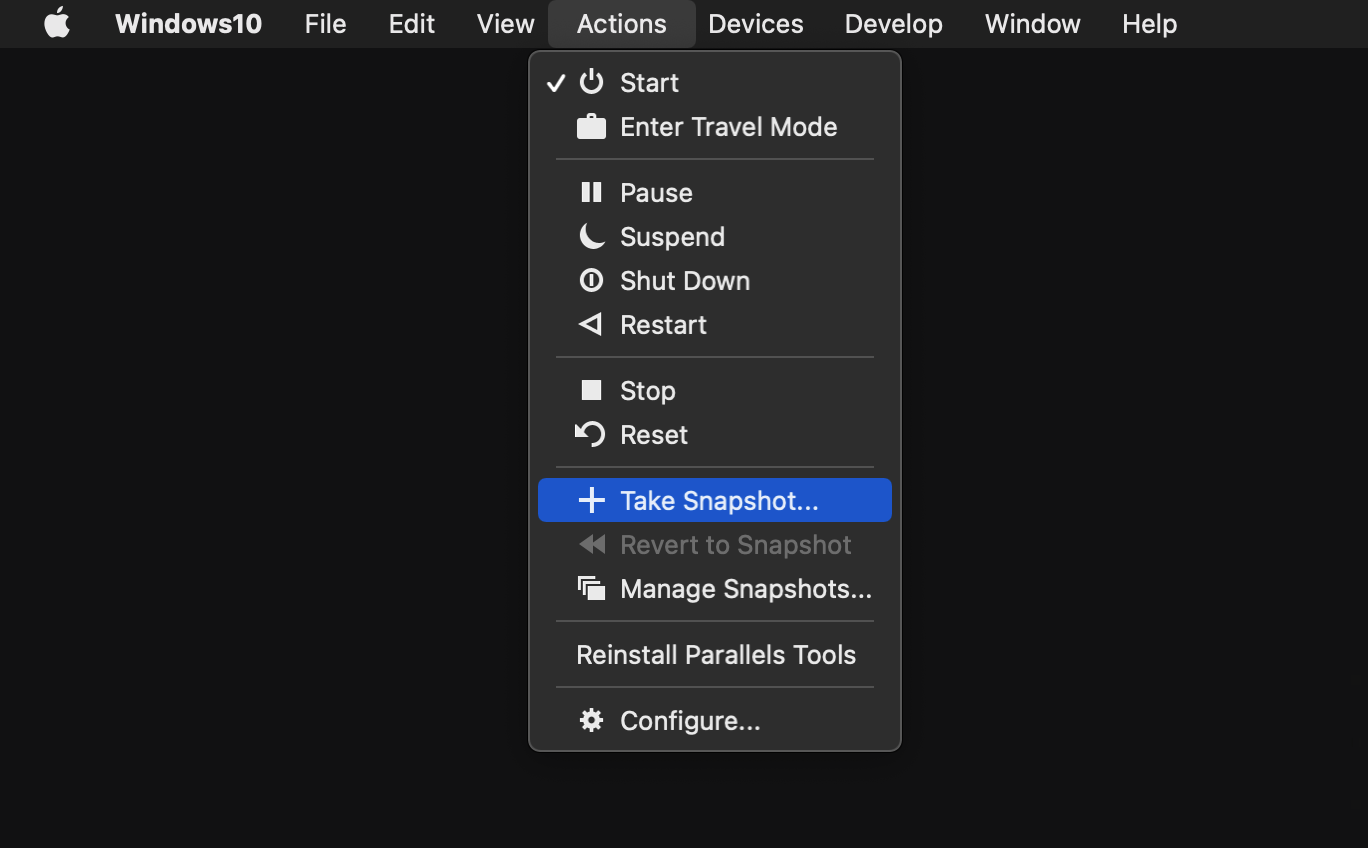
Name it whatever you want.

And continue with the script after that’s done. You’ll be greeted with a bright warning message, this warning only applies if the installation fails, which I hope it doesn’t.

Now the script will go ahead and restart your VM a couple times, just sit and enjoy the show.
Note: If you get an AutoHotKey error, just keep click the X button to close the window until it goes away.
You’ll know it’s done when you see this nice green message.
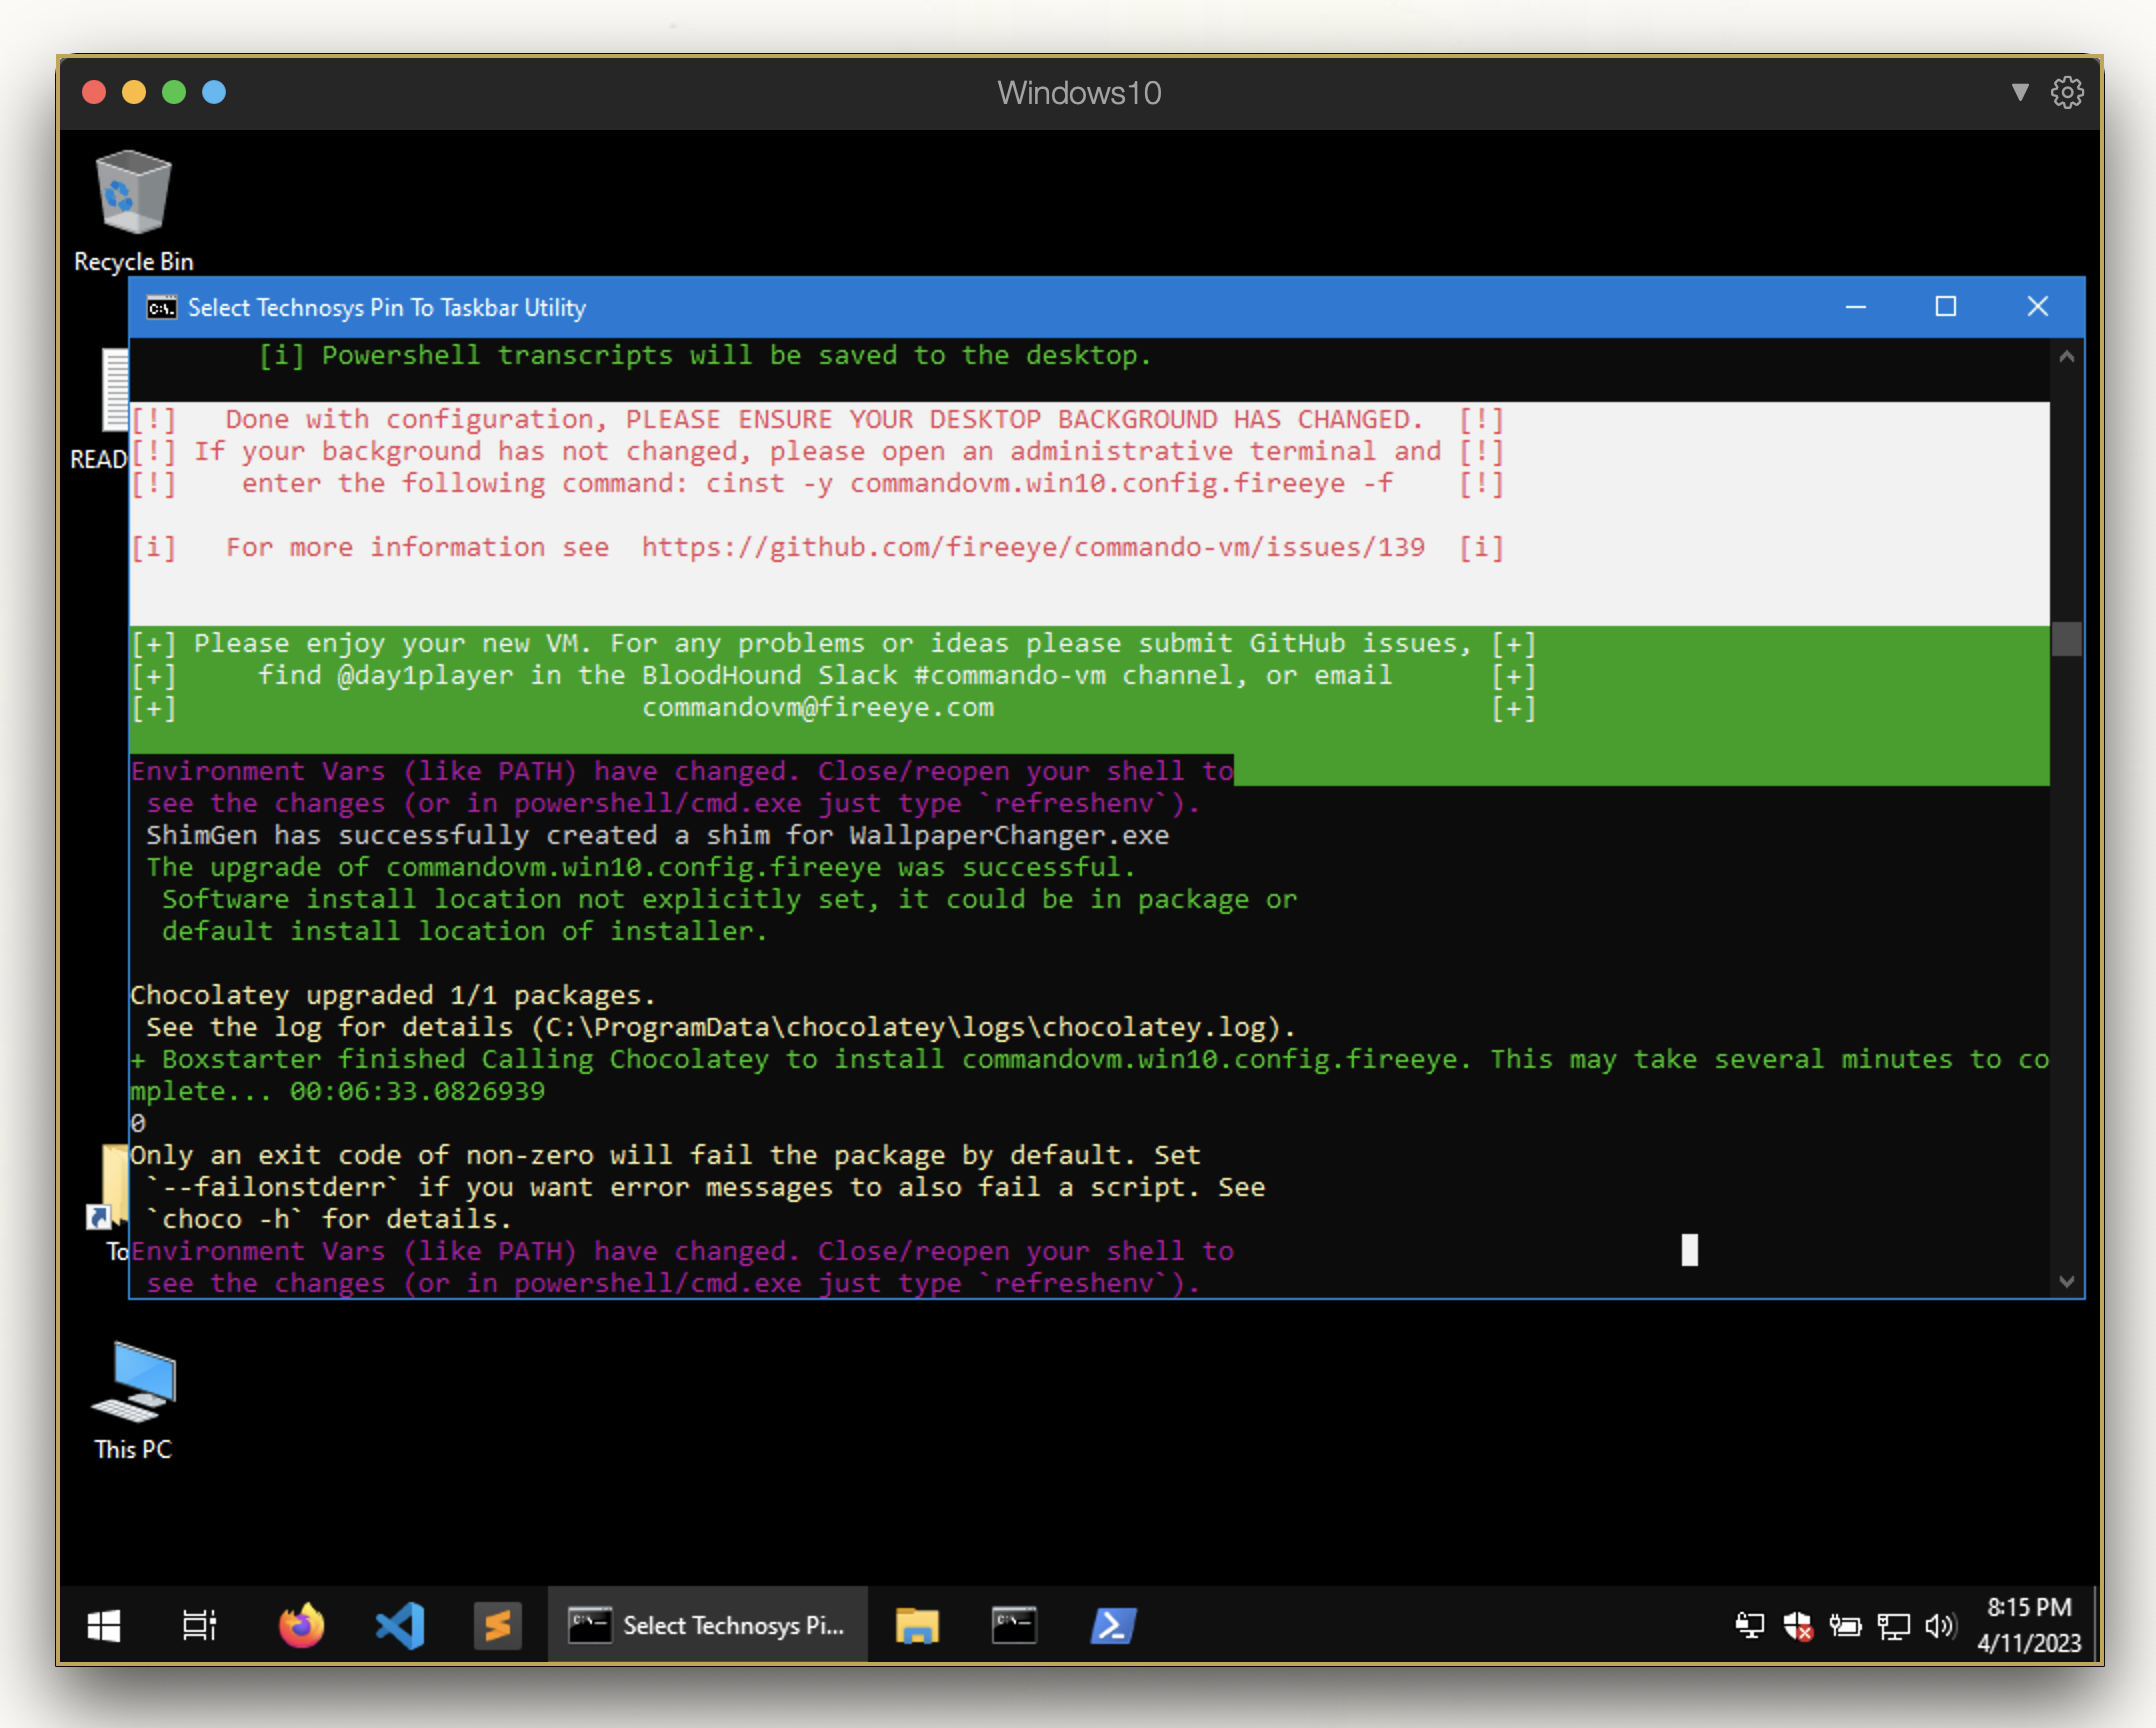
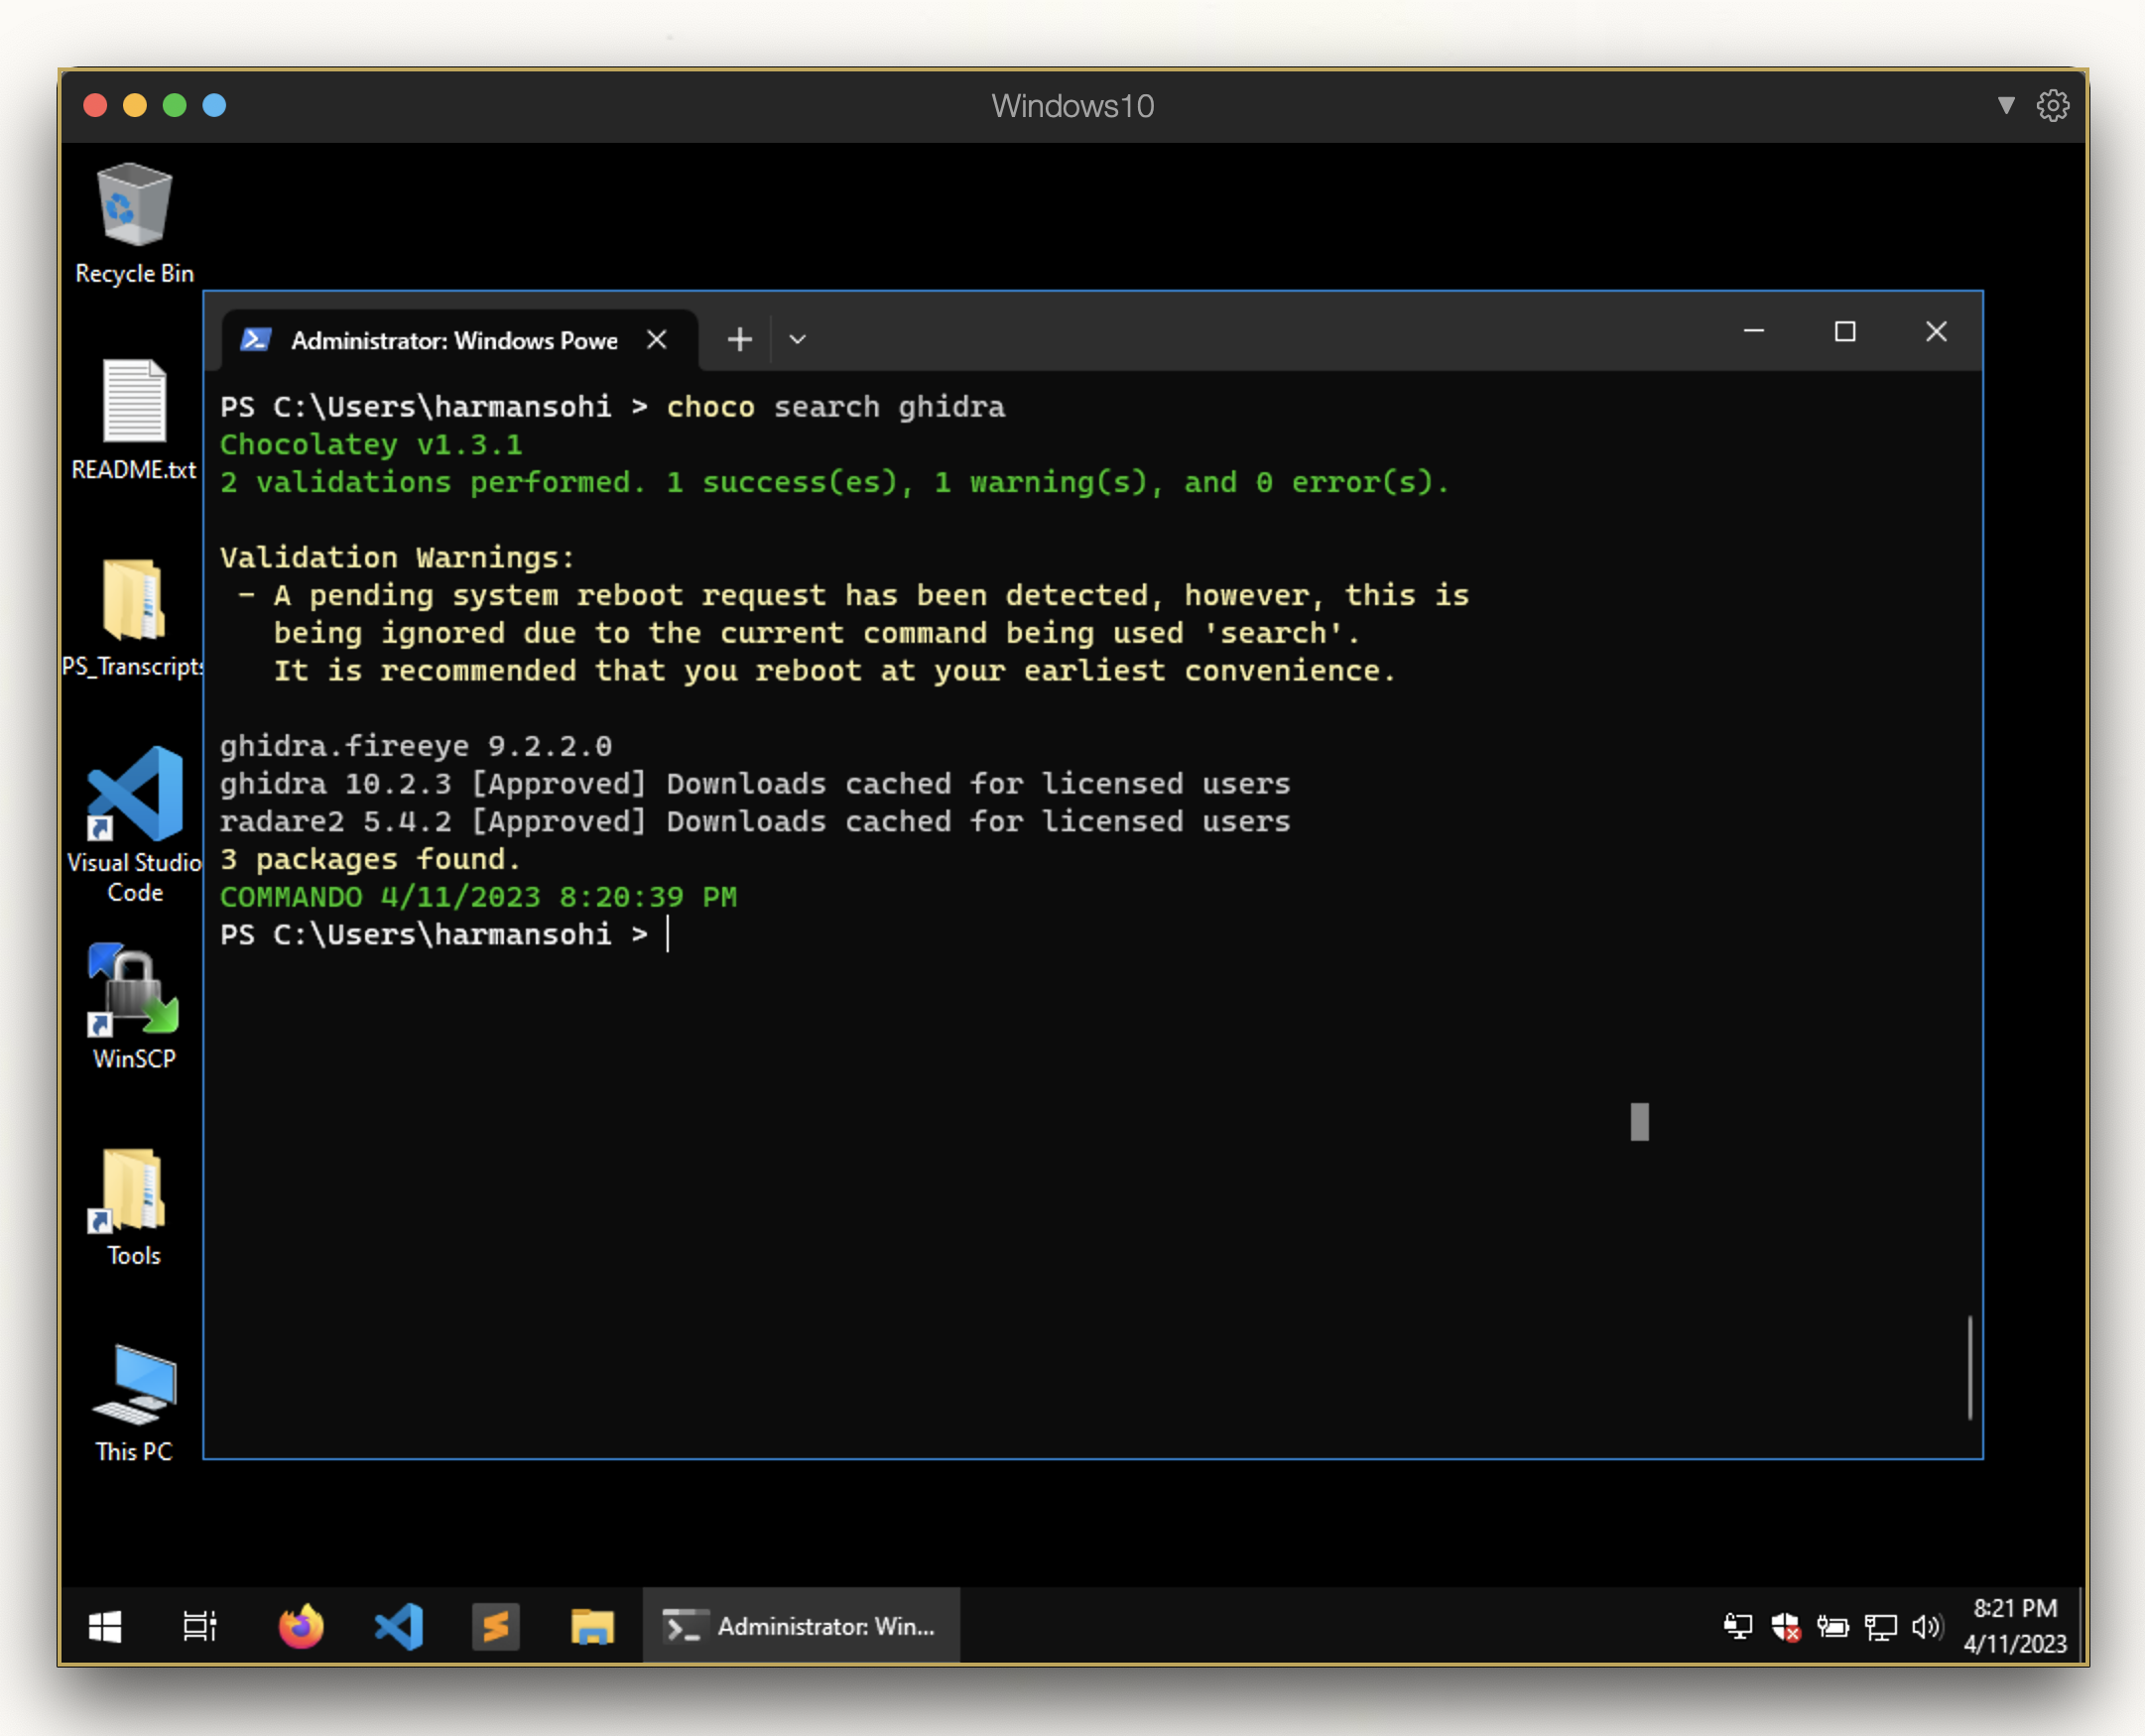
If you want run cup all in a Powershell window to update whatever packages aren’t fully updated yet. Also, the official Chocolatey repo will have never versions of some programs. So if you use an app regularly, it might be worth downloading the [Approved] versions.
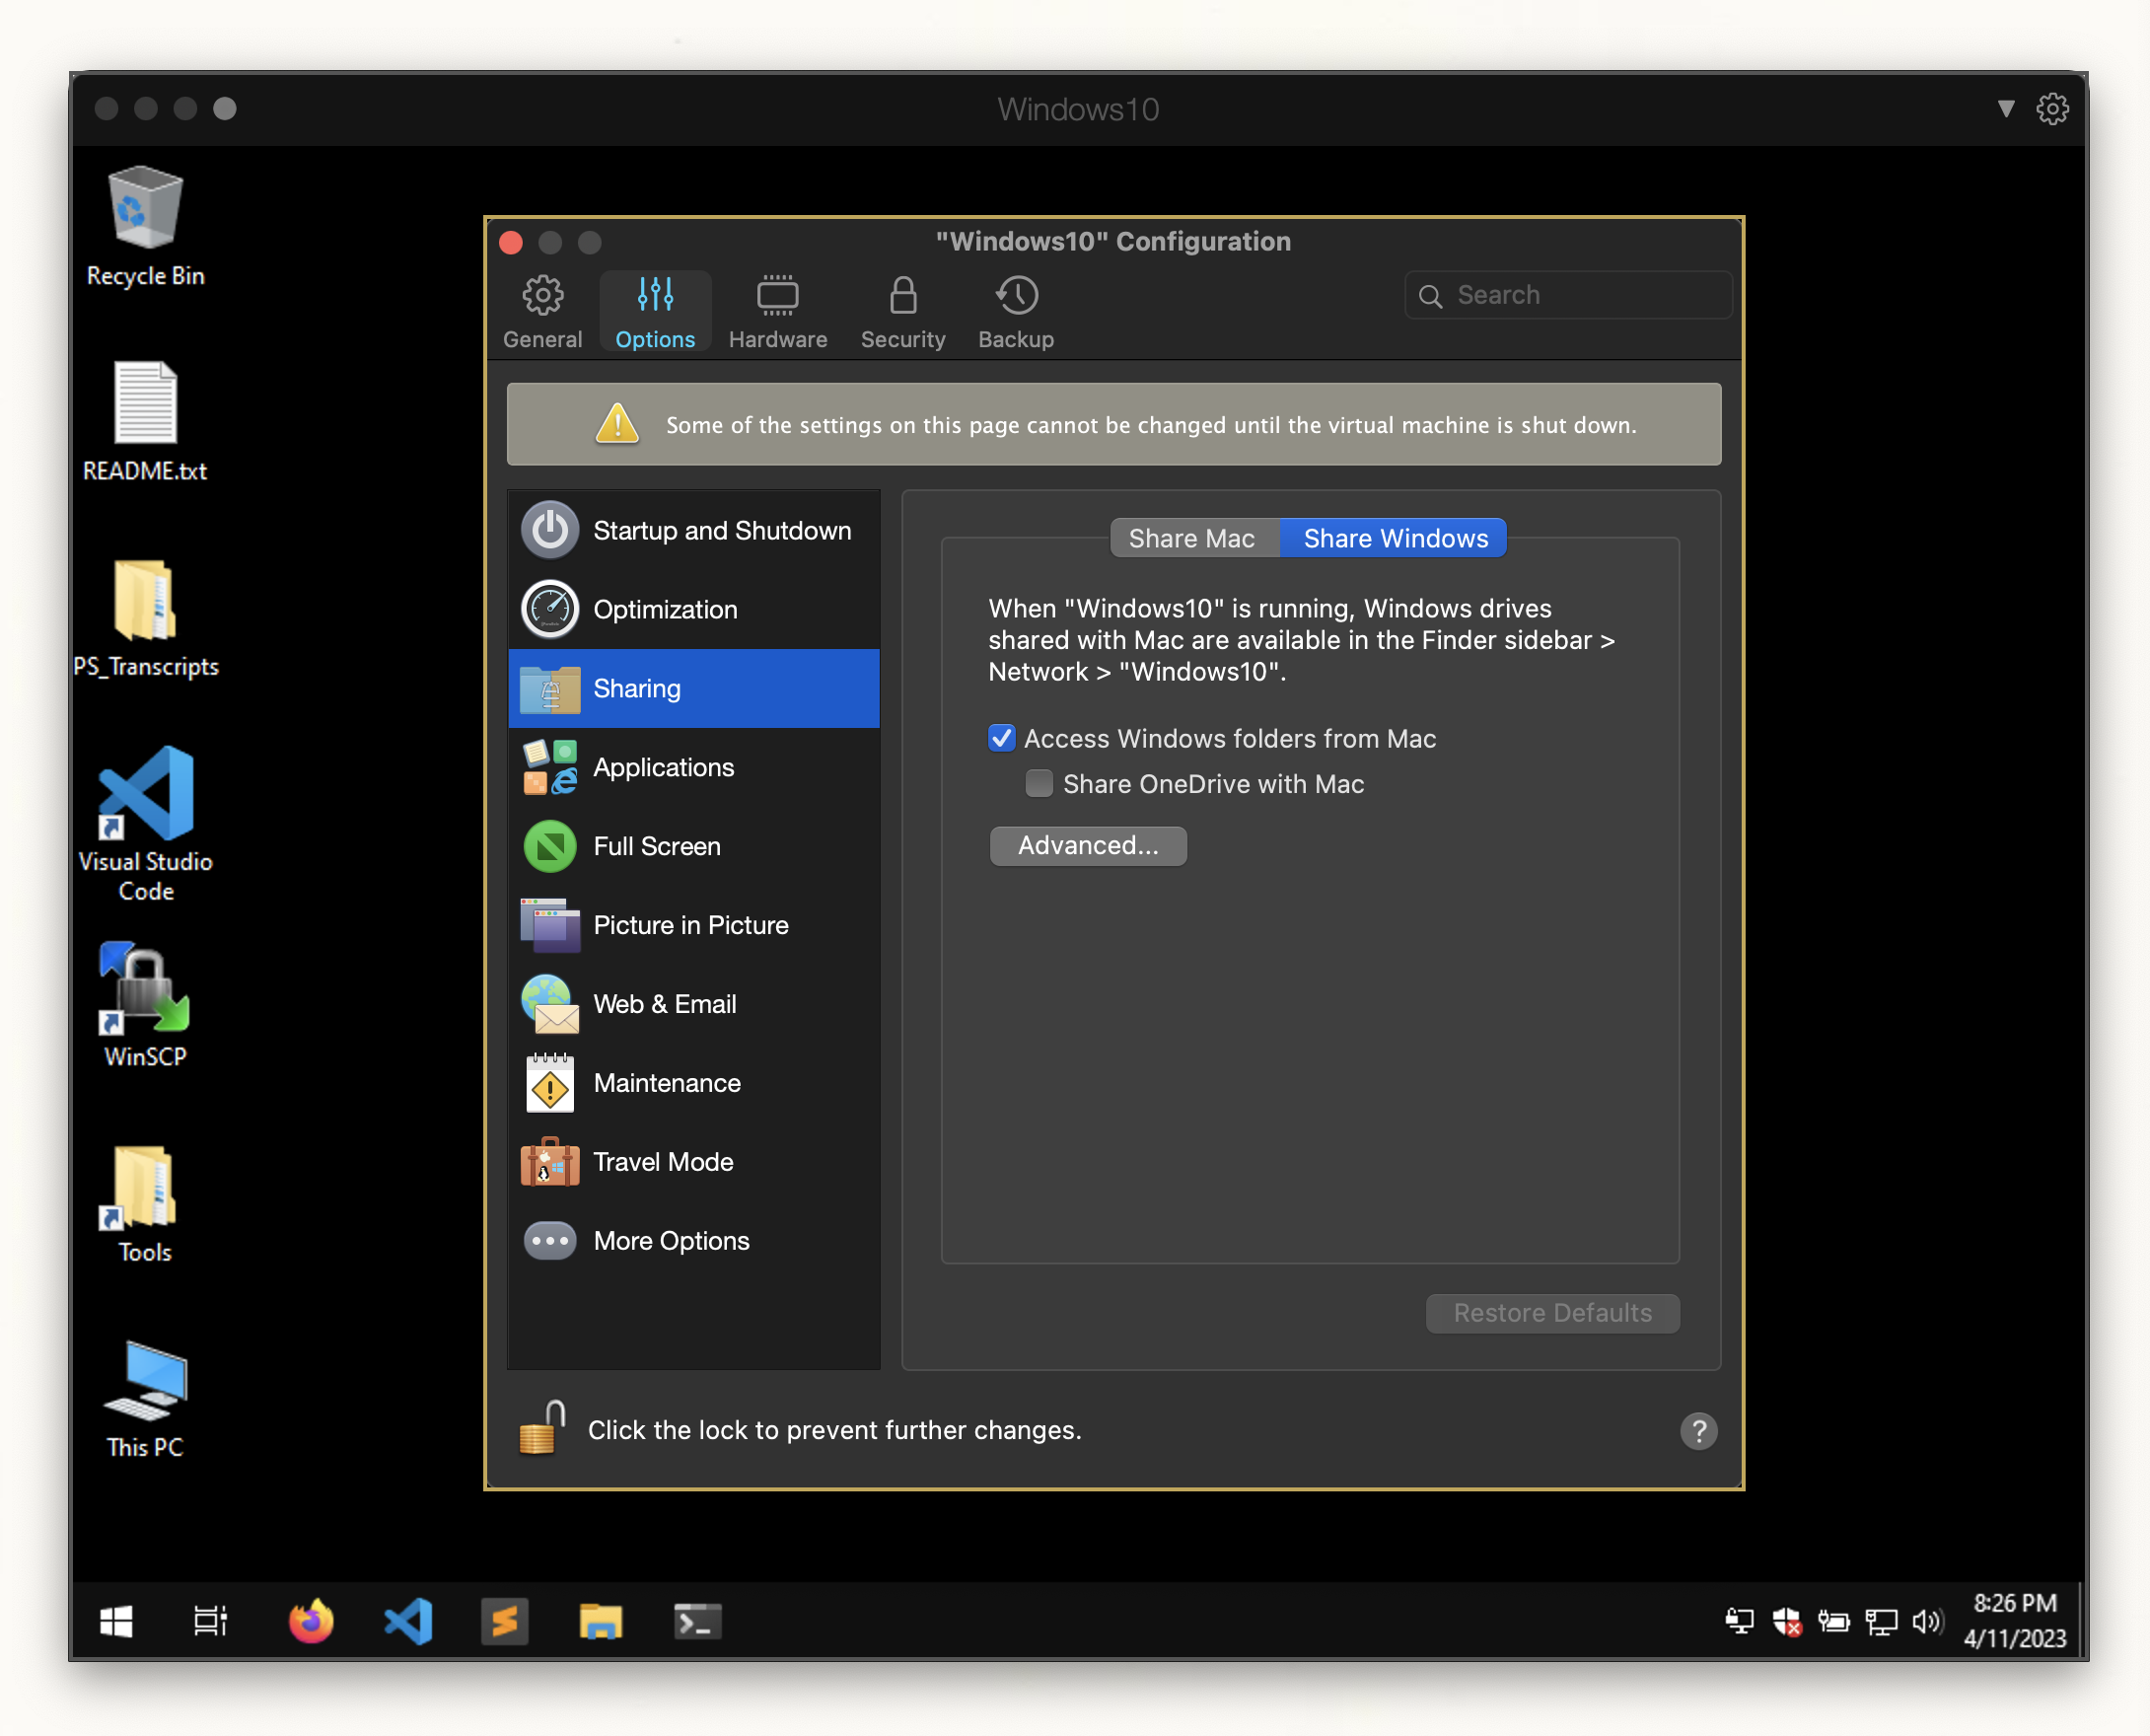
Step 7: Adding Parallels Stuff
Okay so now we can go back and add some of the Parallels features to make Windows more integrated with MacOS. You can access the Parallels VM settings from Actions -> Configure.
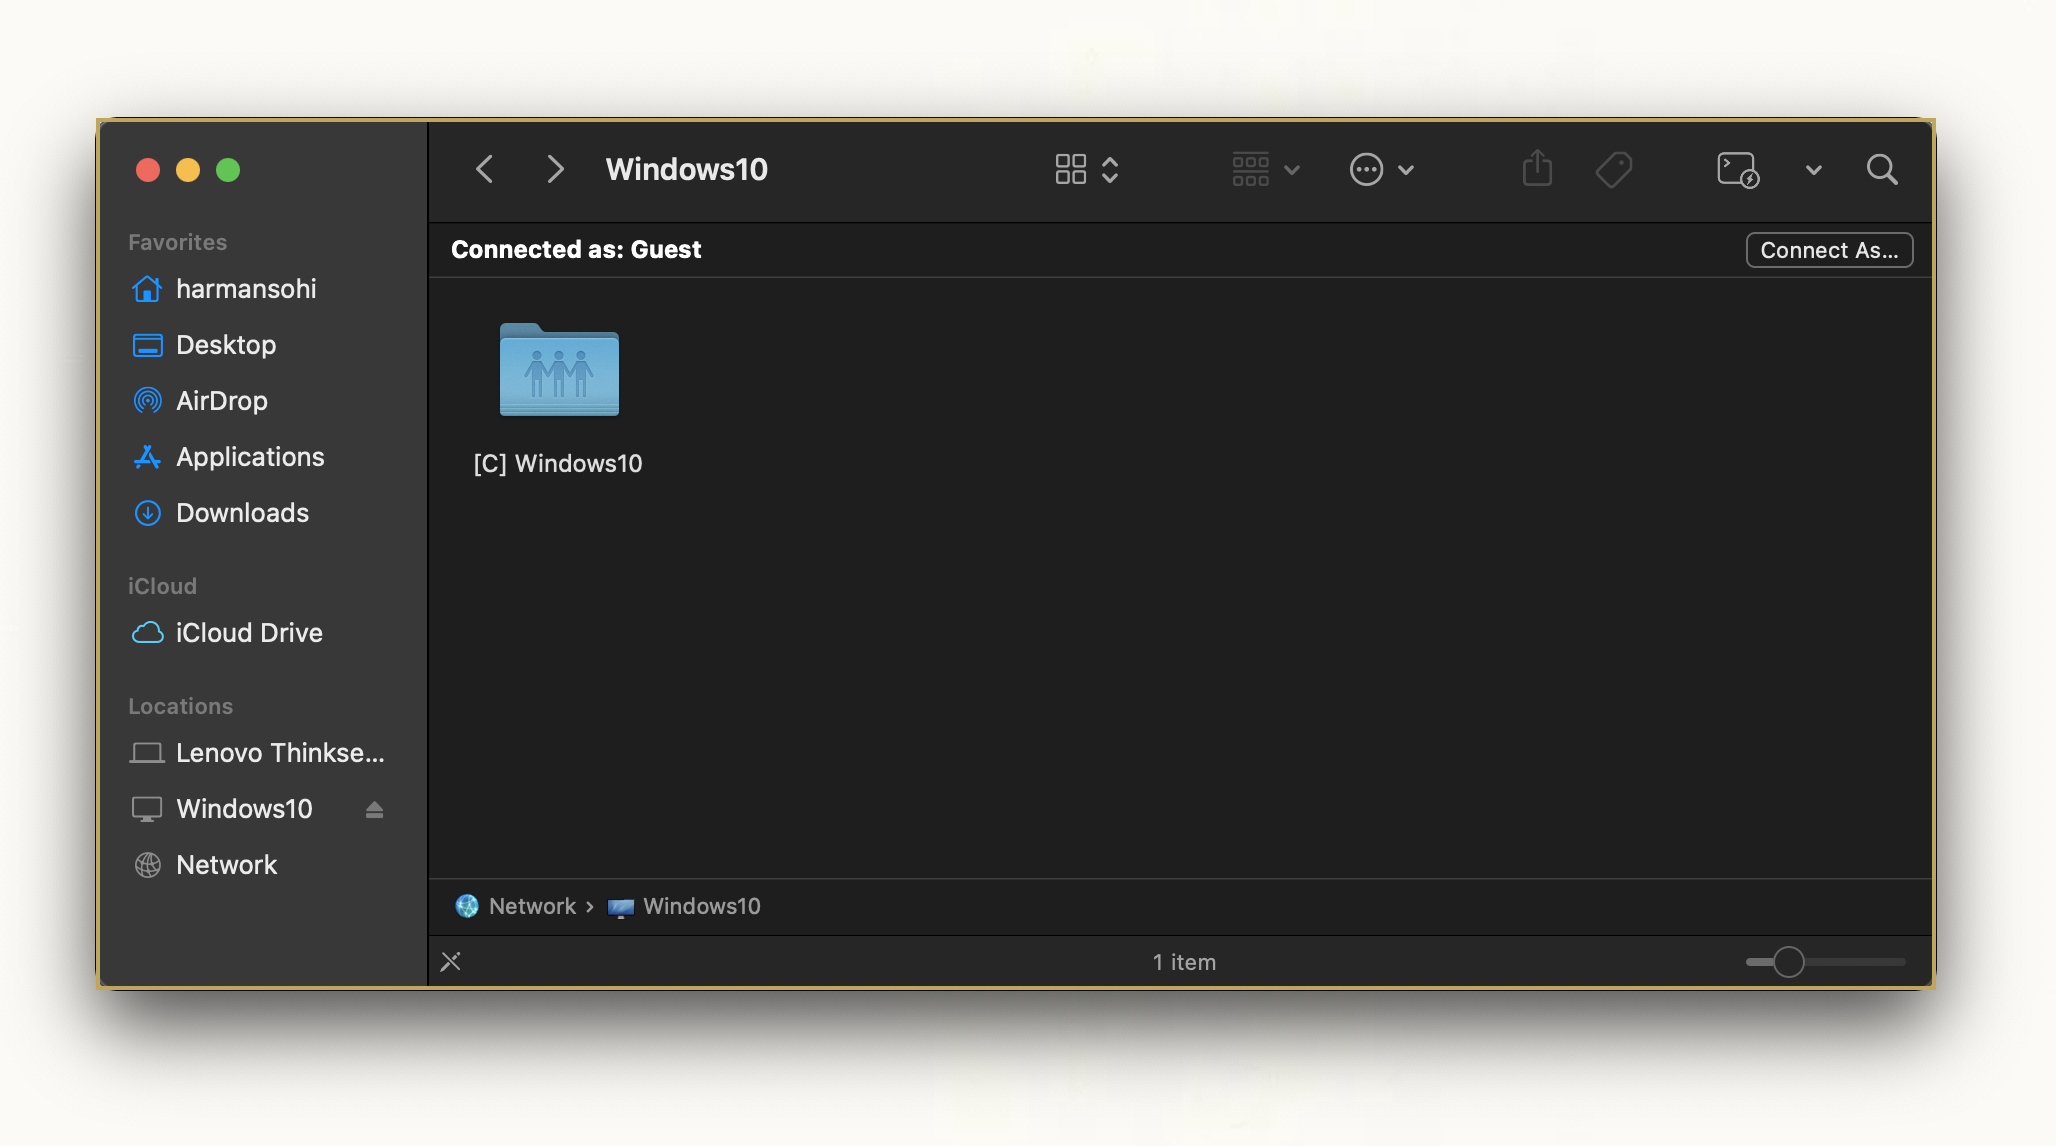
Now since this is a very insecure Windows installation, I won’t be sharing any of my Mac folders with Windows. I’m just going to add the Windows OS as a network share. To do this, go to Options -> Sharing and Check the “Access Windows Folders from Mac”.
Now the folder should be right there.
I’m also going to enable Coherence Mode. This can be enabled with the little blue button in the Window decorations. Also I recommend enabling “Best for Retina Display” under Hardware -> Graphics. I do this as the final step because it messes up my Windows Scaling in windowed mode.
And now you’re done. I don’t know why you would do something like this but I hope you enjoy your new Windows VM.