Setting up OpenBSD in VMware Fusion
For some reason there’s a lack of guides on setting up OpenBSD in virtual environments. You might be wondering “why would I ever want to install OpenBSD in a virtual environment?” Idk man it’s fun to see a new installer bar fill up.
Step 1: Download the OpenBSD ISO
Link: https://www.openbsd.org/faq/faq4.html
Okay so the process for this part differs if you’re using an ARM-based Mac (M1/M2/etc) or Intel-Based Mac (i5/i7/i9).
ARM-Based
If you’re on an ARM-based Mac, you need to go with the install73.img image as the arm64 version.

Then you can just follow the same steps.
Intel-Based
If you’re on an Intel-based Mac, you can go with either the install73.img amd64 image or the install73.iso amd64 image. I chose the iso image since my folder is called ‘ISOs’ and it makes sense.

Step 2: VM Configuration in Fusion
Inside of the VMware Fusion Library, click the little +, then New… to add a new virtual machine (or ⌘N if you’re cool).

Then just drag your newly downloaded iso/img file into the Select the Installation Method window.
(I was too lazy to download the image again, they just updated it this week.)

Then click Continue.
In the Choosse Operating System menu, go to Linux -> Other 64-bit.

Then Legacy BIOS in the Firmware Type menu.

Then in the Finish menu, you can change any settings you want by going to Customize Settings. This will also prompt you to select an install location and to name your OS, I’m just going with OpenBSD for now.
I recommend changing IDE to SATA since IDE is an unnecessary compatibility measure. Also increasing the hard drive size to something actually serviceable, I chose 128GB but it depends on your use case. If you don’t know, just set it to 128GB for now.

I also recommend increasing the amount of processor cores if you have some to spare, and increase the RAM if you plan to use a nicer desktop environment like XFCE. I won’t be covering that in this but I will increase the cores to 2 and RAM to 512MB.

If you want, you can disable side channel mitigations for a slight performance improvements. I won’t through since you can run this OS on a microwave motherboard.
Step 3: OpenBSD Installation
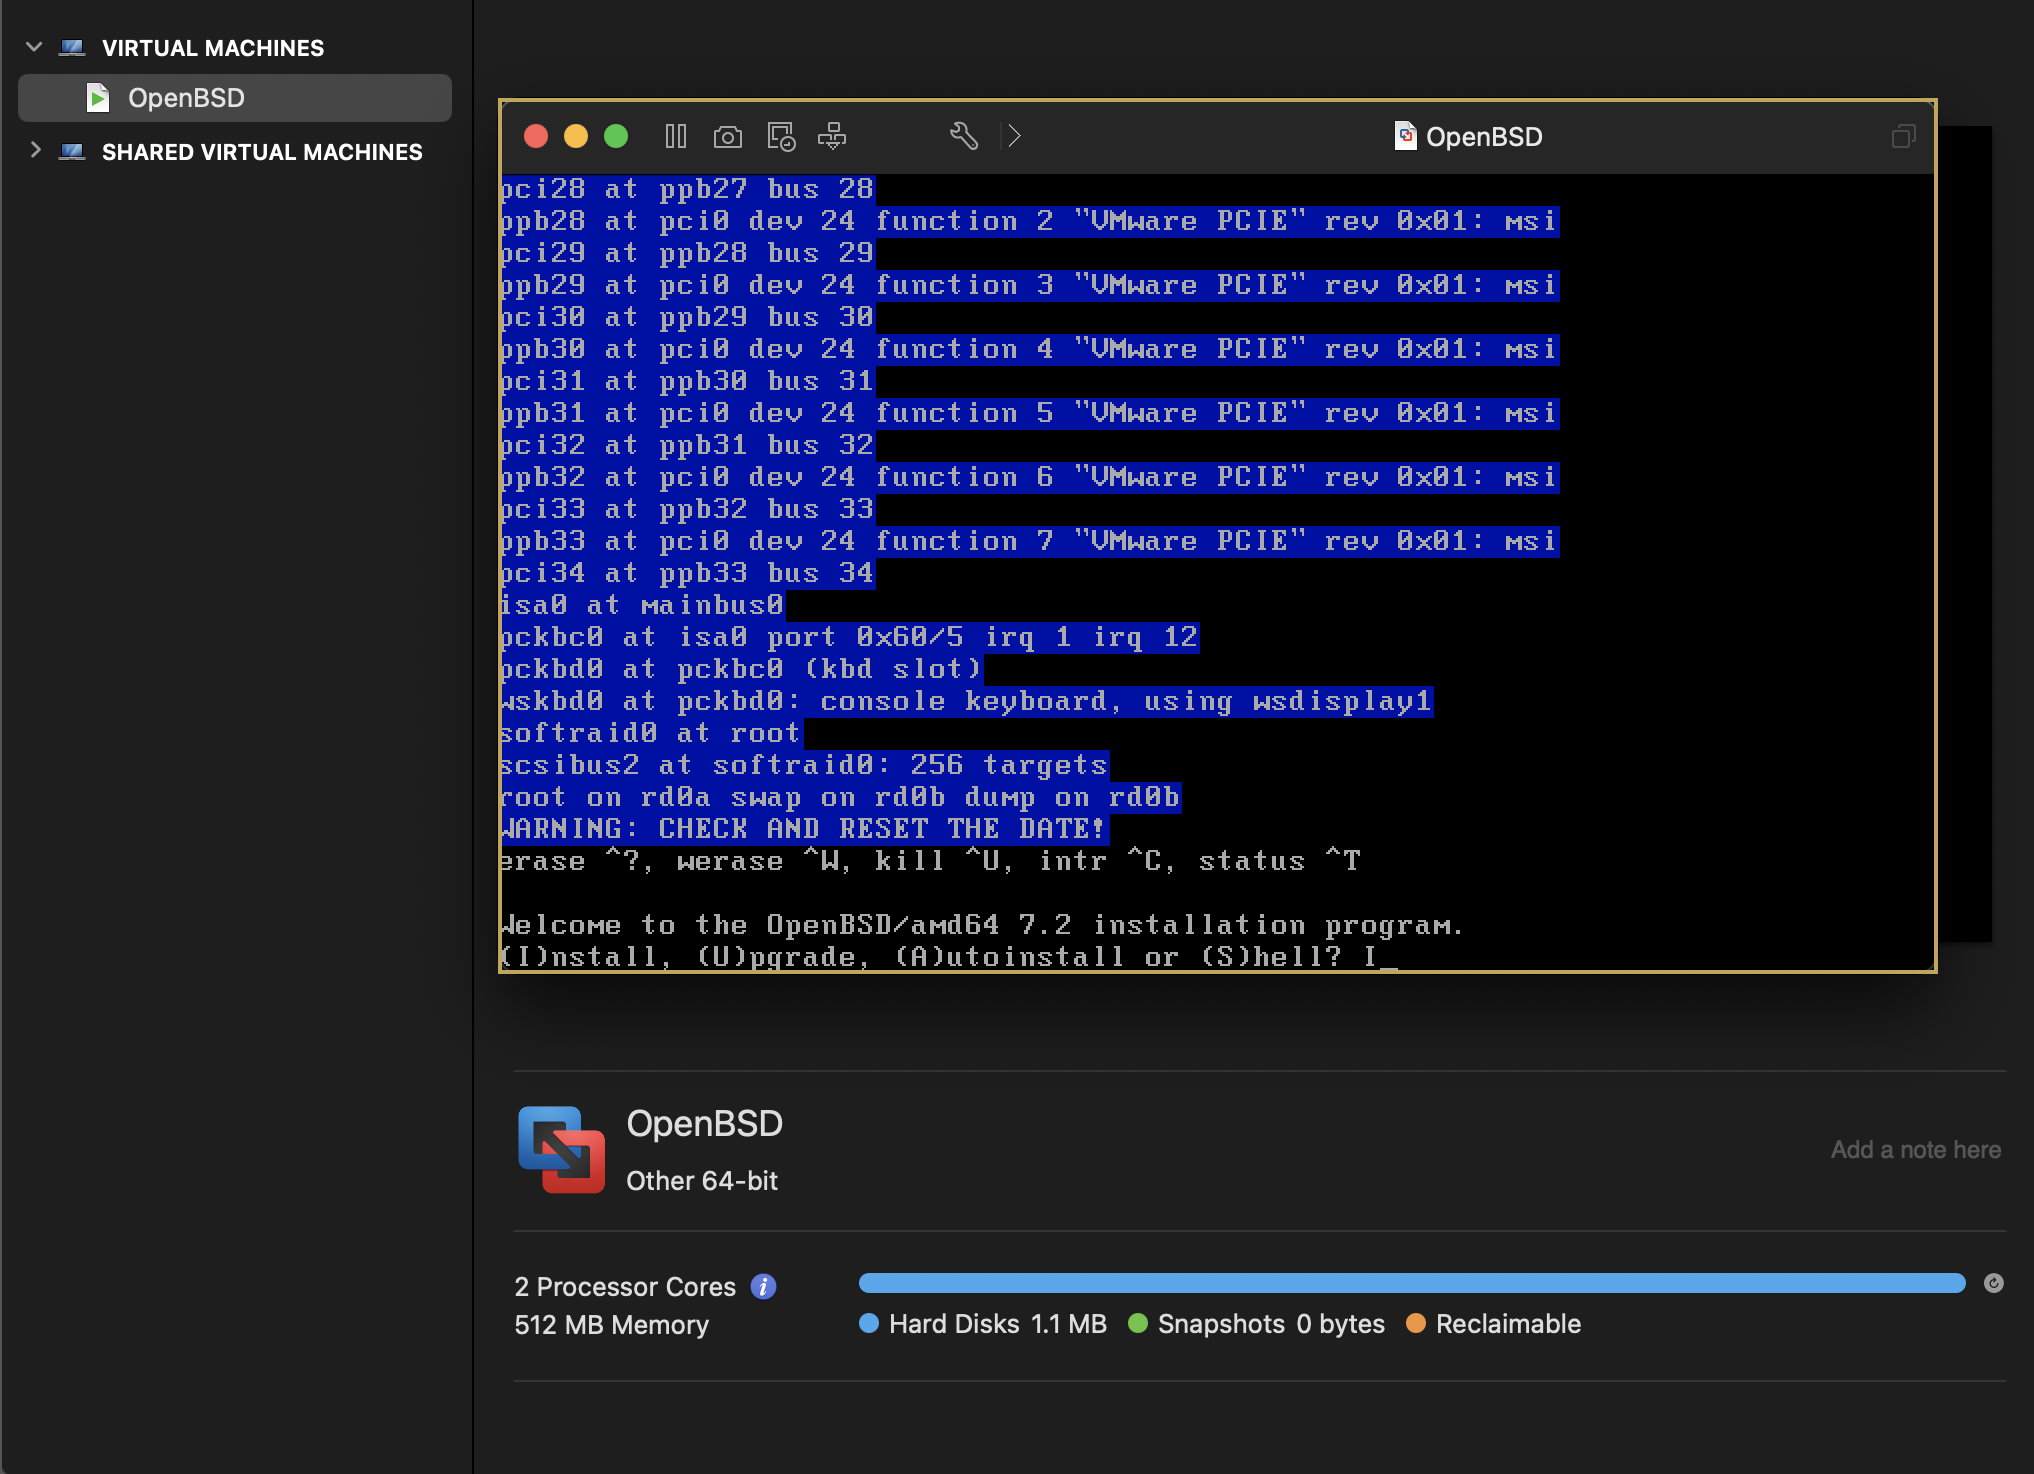
Now just go ahead and start it up. You don’t have to put anything into the boot> prompt, just wait for it to go.
When prompted to Install, Upgrade, Autoinstall, or Shell: Type I and click Enter.
I use the standard QWERTY US layout, if you don’t then use L to list all the available options. I’m just going to type us and continue.
System hostname? I just used OpenBSD-vm.
On the network interfaces part, it will show you em0 and vlan0. em0 is the one you want to go ahead and autoconf. Then skip the vlan0 one.
Default option for the DNS domain, my.domain.
Then you’ll need to provide the password for the root account, this won’t show up in the terminal so remember where you were.
The next prompt will ask you if you want to enable sshd(8) by default. I chose to select no since I’m just using this vm locally. If you plan to integrate this into a larger environment or run it without a DE, the go with yes.
Do you expect to run the X Window System. yes, I do plan to use the window system. Again, if you intend to use this vm in a minimal box, the choose no.
Do you want the X Windows System to be started by xenmod(1). I chose yes for this because I intend to let OpenBSD to do the work for me.
Setup a user? I’m going with no, but if you are going to use this VM for an extended period of time then type in a username.
I’m leaving the default timezone.
Which disk is the root disk? I only have one disk to by default it’s sd0.
Use (W)hole disk MBR, whole disk (G)PT or (E)dit? I left the default whole since this is a simple VM and I don’t need the complications of GPT.
Use (A)uto layout, (E)dit auto layout, or create (C)ustom layout? I left this as a since I’m not going to overcomplicate it.
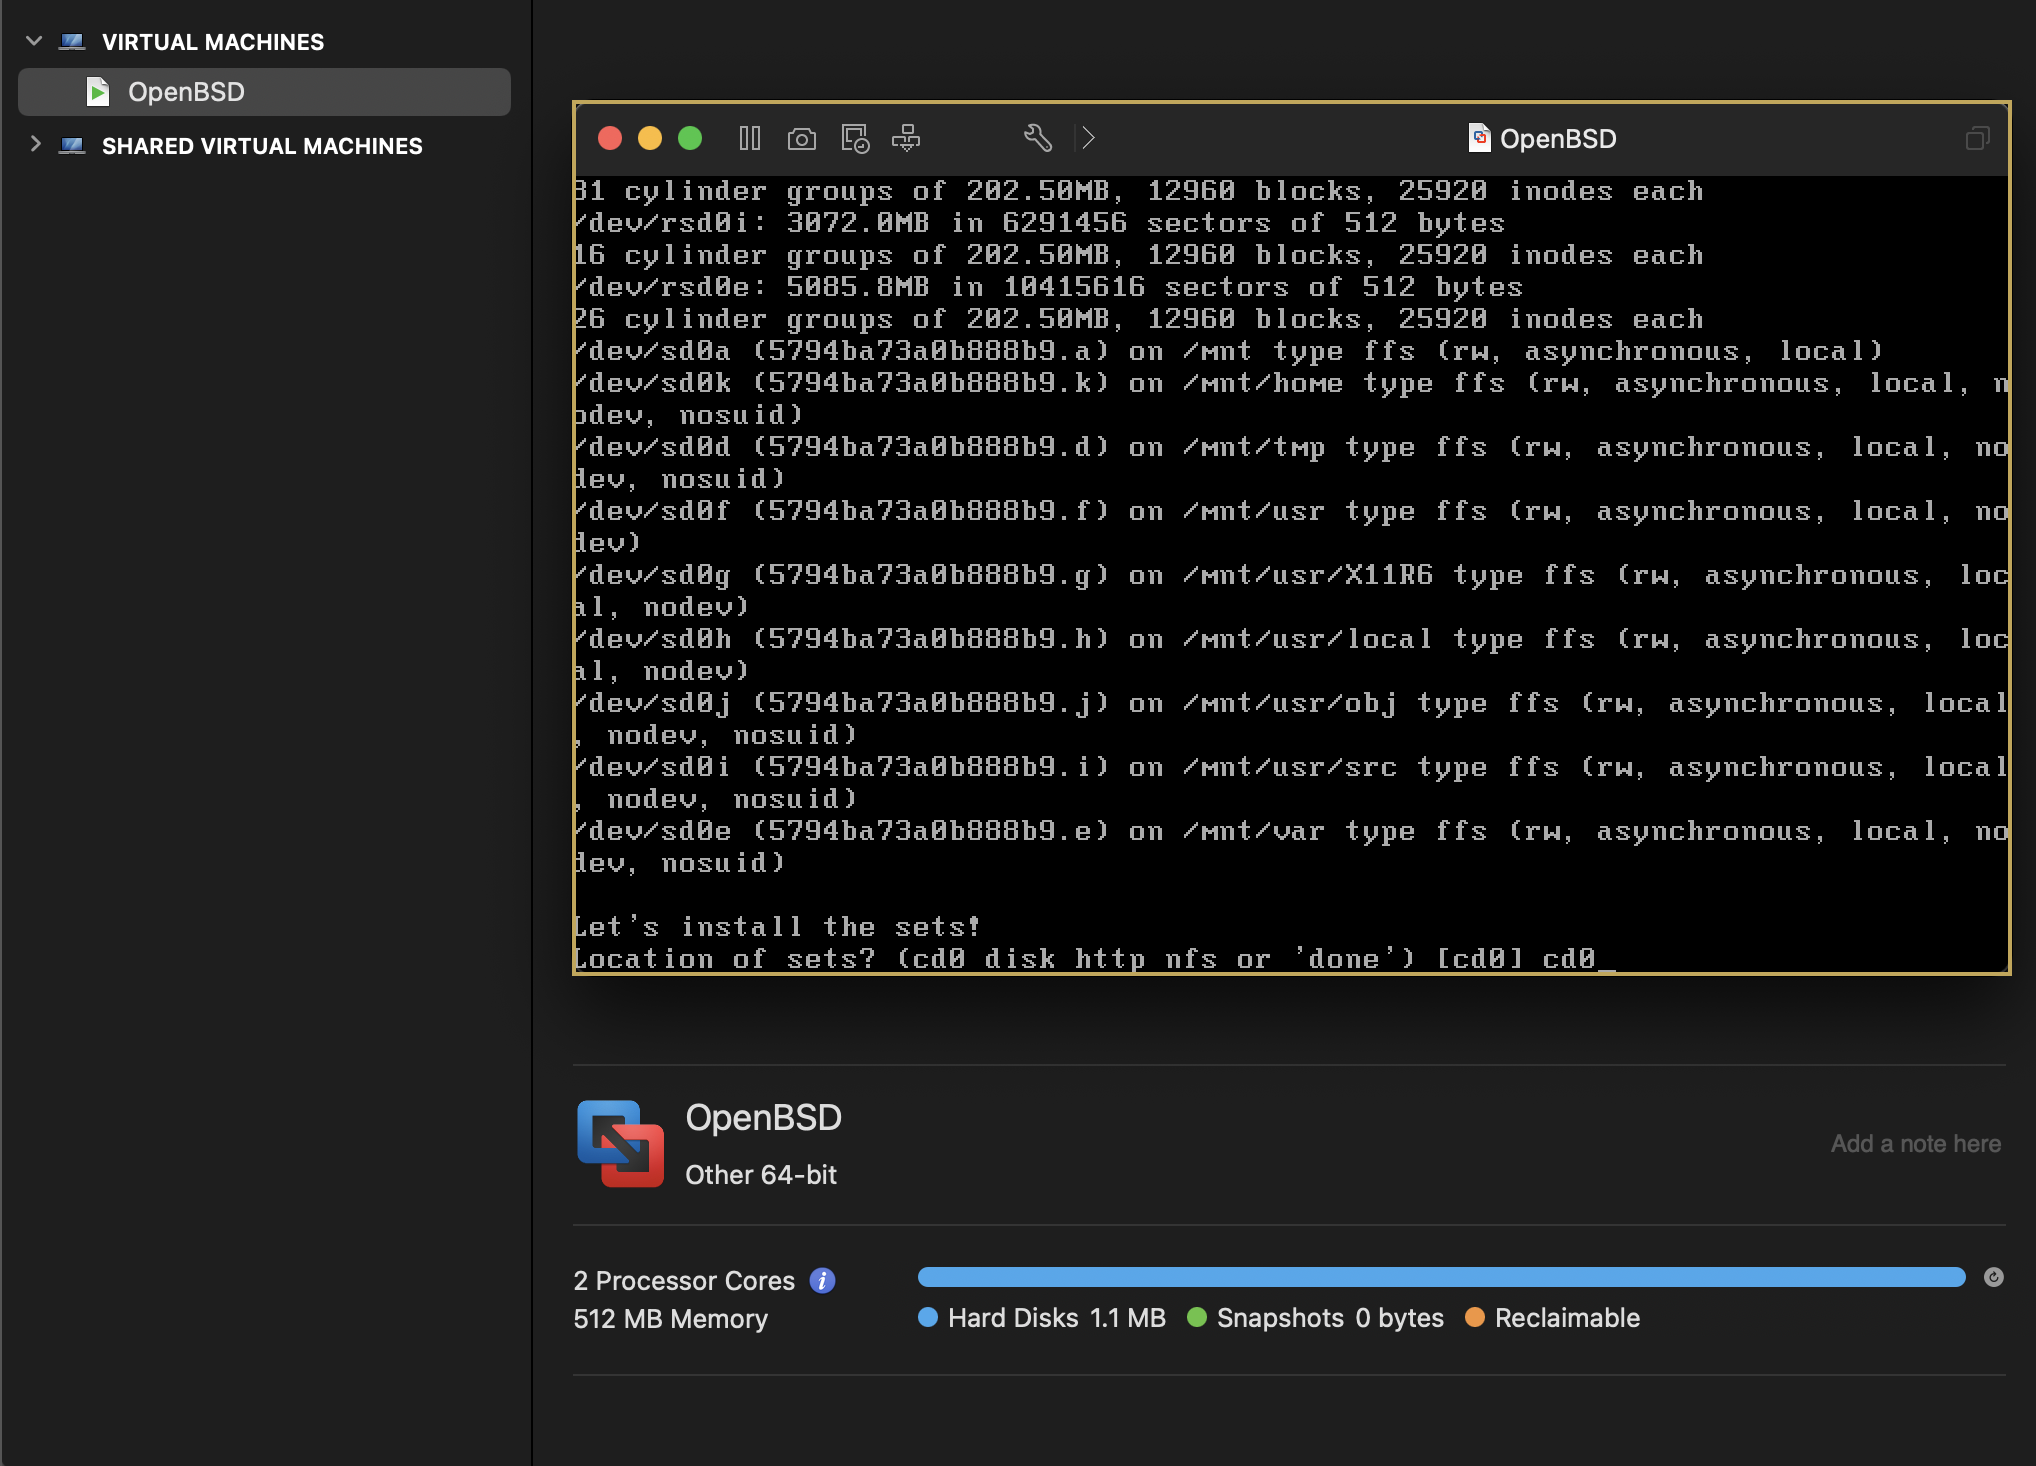
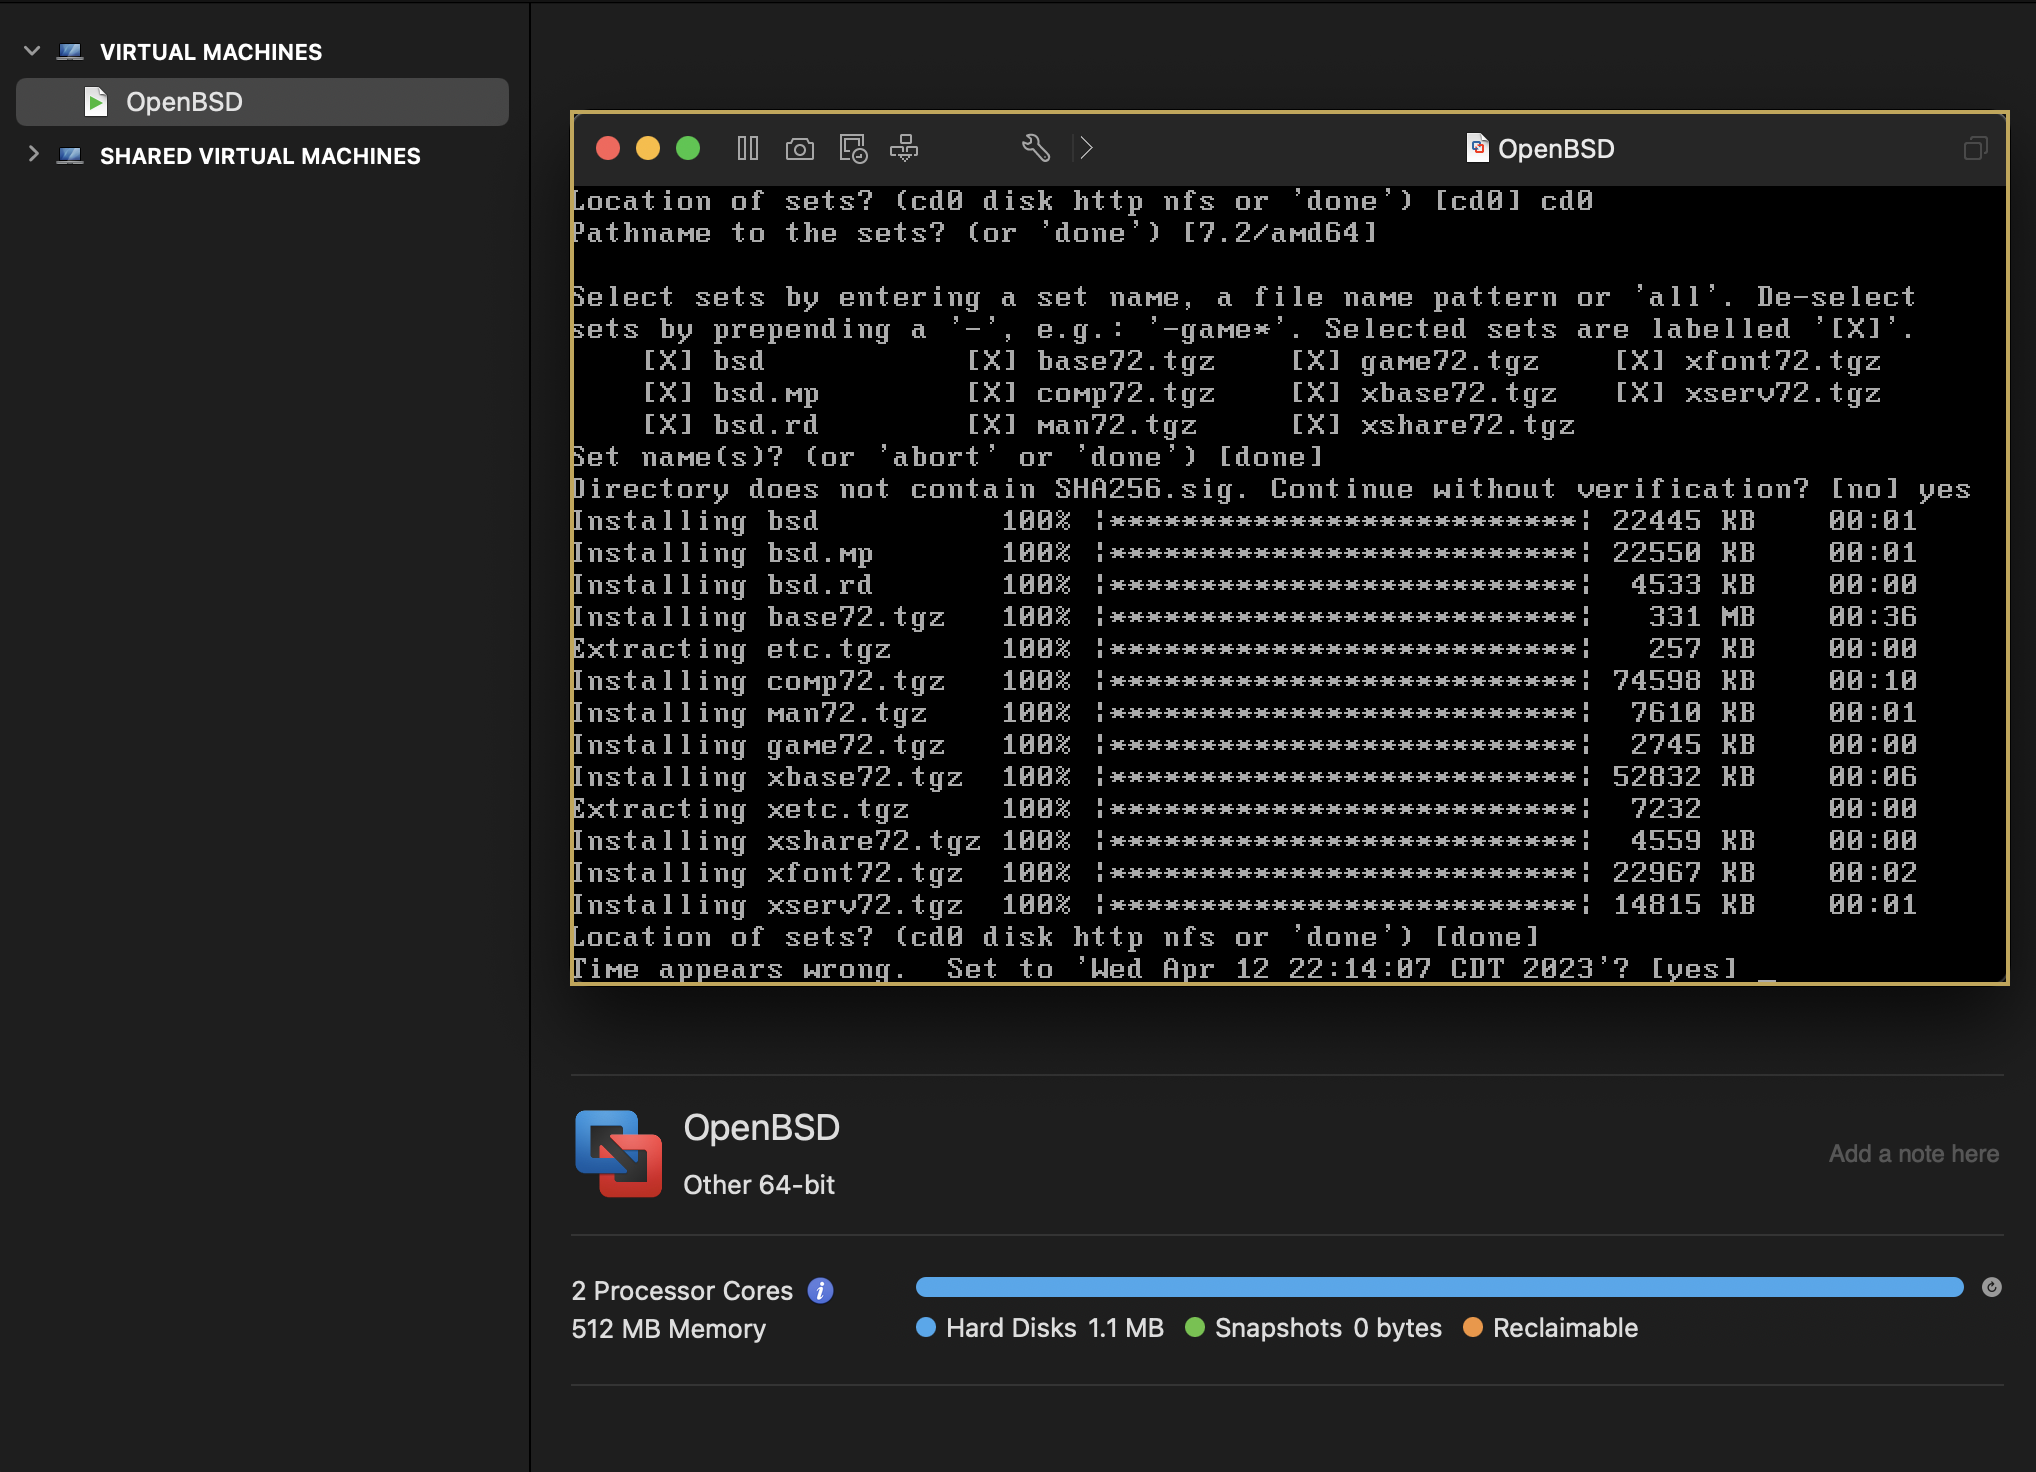
Now the file sets stuff, all of the file sets are on the installation CD. And all of the default settings will select this.
On the Directory does not contain SHA256.sig. part, type yes to ignore that part.

Now the installation wizard will install all the necessary sets and you’ll be promted for the location of more sets. The default done is fine.
Now I actually got prompted to fix the time which I did confirm.
After all the bars fill up, you’ll be prompted to reboot the machine if everything went right.

Checking if it Actually Works
Okay so now it should reboot into a lockscreen with your hostname and whatever domain you selected.

Type in your credentials and you’ll be greeted with the beautiful F Virtual Window Manager and the KornShell (unles you went with no windows manager).

Enjoy your OpenBSD VM. Also the command halt -p is the poweroff equivalent.